What to Do Before Painting a Room: A Complete Prep Checklist
4/26/2026
Why Proper Prep Is the Secret to a Professional Paint Job
A fresh coat of paint can transform a room, but the real magic happens before the brush ever touches the wall. In fact, up to 70% of a paint job's success comes from proper room preparation—something many weekend warriors and even some contractors overlook. Whether you're refreshing a living room in a 1950s home in Painesville or updating a modern condo in Mentor, skipping prep leads to streaks, peeling, and uneven texture that age poorly. The truth? Dust, grease, and loose drywall compound create barriers that keep paint from adhering properly, leading to early deterioration and costly touch-ups.
This comprehensive checklist covers everything you need to do before rolling on paint: clearing furniture, repairing cracks and holes, sanding surfaces, cleaning walls, masking trim, and protecting floors. You'll learn how to identify problem areas like moisture spots, popcorn ceiling edges, and outdated wallpaper residue—common issues in older homes across Lake County and throughout Northeast Ohio. Each step ensures your final finish is smooth, durable, and built to last. By the end, you'll not only save time and materials but also avoid frustration and rework.
How to Clean Walls Like a Pro: The Secret to Perfect Paint Adhesion
- Clear and Protect the Area. Remove furniture or cover it with drop cloths. Lay plastic or canvas sheets on the floor to catch drips. Turn off electrical power to outlets and switches in your work zone for safety.
- Dust and Vacuum First. Use a microfiber cloth or duster to remove surface dust, cobwebs, and debris. For textured or older walls common in Lake County, a vacuum with a brush attachment helps pull dirt from crevices without damage.
- Mix a Cleaning Solution. Combine warm water with a few drops of mild dish soap or a tablespoon of trisodium phosphate (TSP) substitute for heavier grime. Avoid harsh chemicals that can compromise drywall integrity.
- Scrub Wall Surfaces. Dip a sponge or soft-bristle scrub brush into the solution. Work in sections from floor to ceiling using gentle circular motions. Pay extra attention to greasy spots near stoves, door handles, and baseboards.
- Rinse and Dry. Wipe walls with a clean, damp cloth to remove soapy residue. Let the surface dry completely—this can take several hours, especially in humid basements or bathrooms.
- Inspect and Spot-Treat. Check for lingering stains, mildew, or sticky residues. Treat these with a targeted cleaner, then re-rinse and dry. A smooth, clean wall is essential for primer and paint to bond effectively.
Fixing Damaged Drywall: Your Step-by-Step Guide to a Flawless Paint Surface
Before applying a single coat of paint, addressing holes, cracks, and damaged drywall is essential for achieving a professional, long-lasting finish. Ignoring these flaws can lead to visible imperfections and poor paint adhesion, especially in homes across Northeast Ohio where seasonal shifting often worsens wall damage.
- Clean and Prep the Area. Remove loose debris, dust, and old tape using a utility knife and damp cloth. A clean surface ensures patching materials adhere properly.
- Widen Cracks Slightly. Use a putty knife to V-notch hairline cracks, creating a better bond for joint compound. For larger holes, sand edges lightly to help the repair blend.
- Apply Patching Material. For small holes and cracks, press in spackling paste with a flexible drywall knife. For larger openings, install a drywall patch or mesh tape first, then cover with compound in thin, layered passes.
- Let It Dry and Sand Smooth. Allow each layer to dry completely before sanding with 120-grit paper. Feather the edges to blend with the surrounding wall—this prevents ridges after painting.
- Prime Before Painting. Apply a quality primer to sealed areas. This blocks stains, ensures uniform paint absorption, and prevents the repaired spot from standing out.
Pro Tip: In high-moisture areas like kitchens and bathrooms in Lake County, use mold-resistant joint compound to protect your repair. Always work from ceiling to baseboard to maintain a consistent finish.
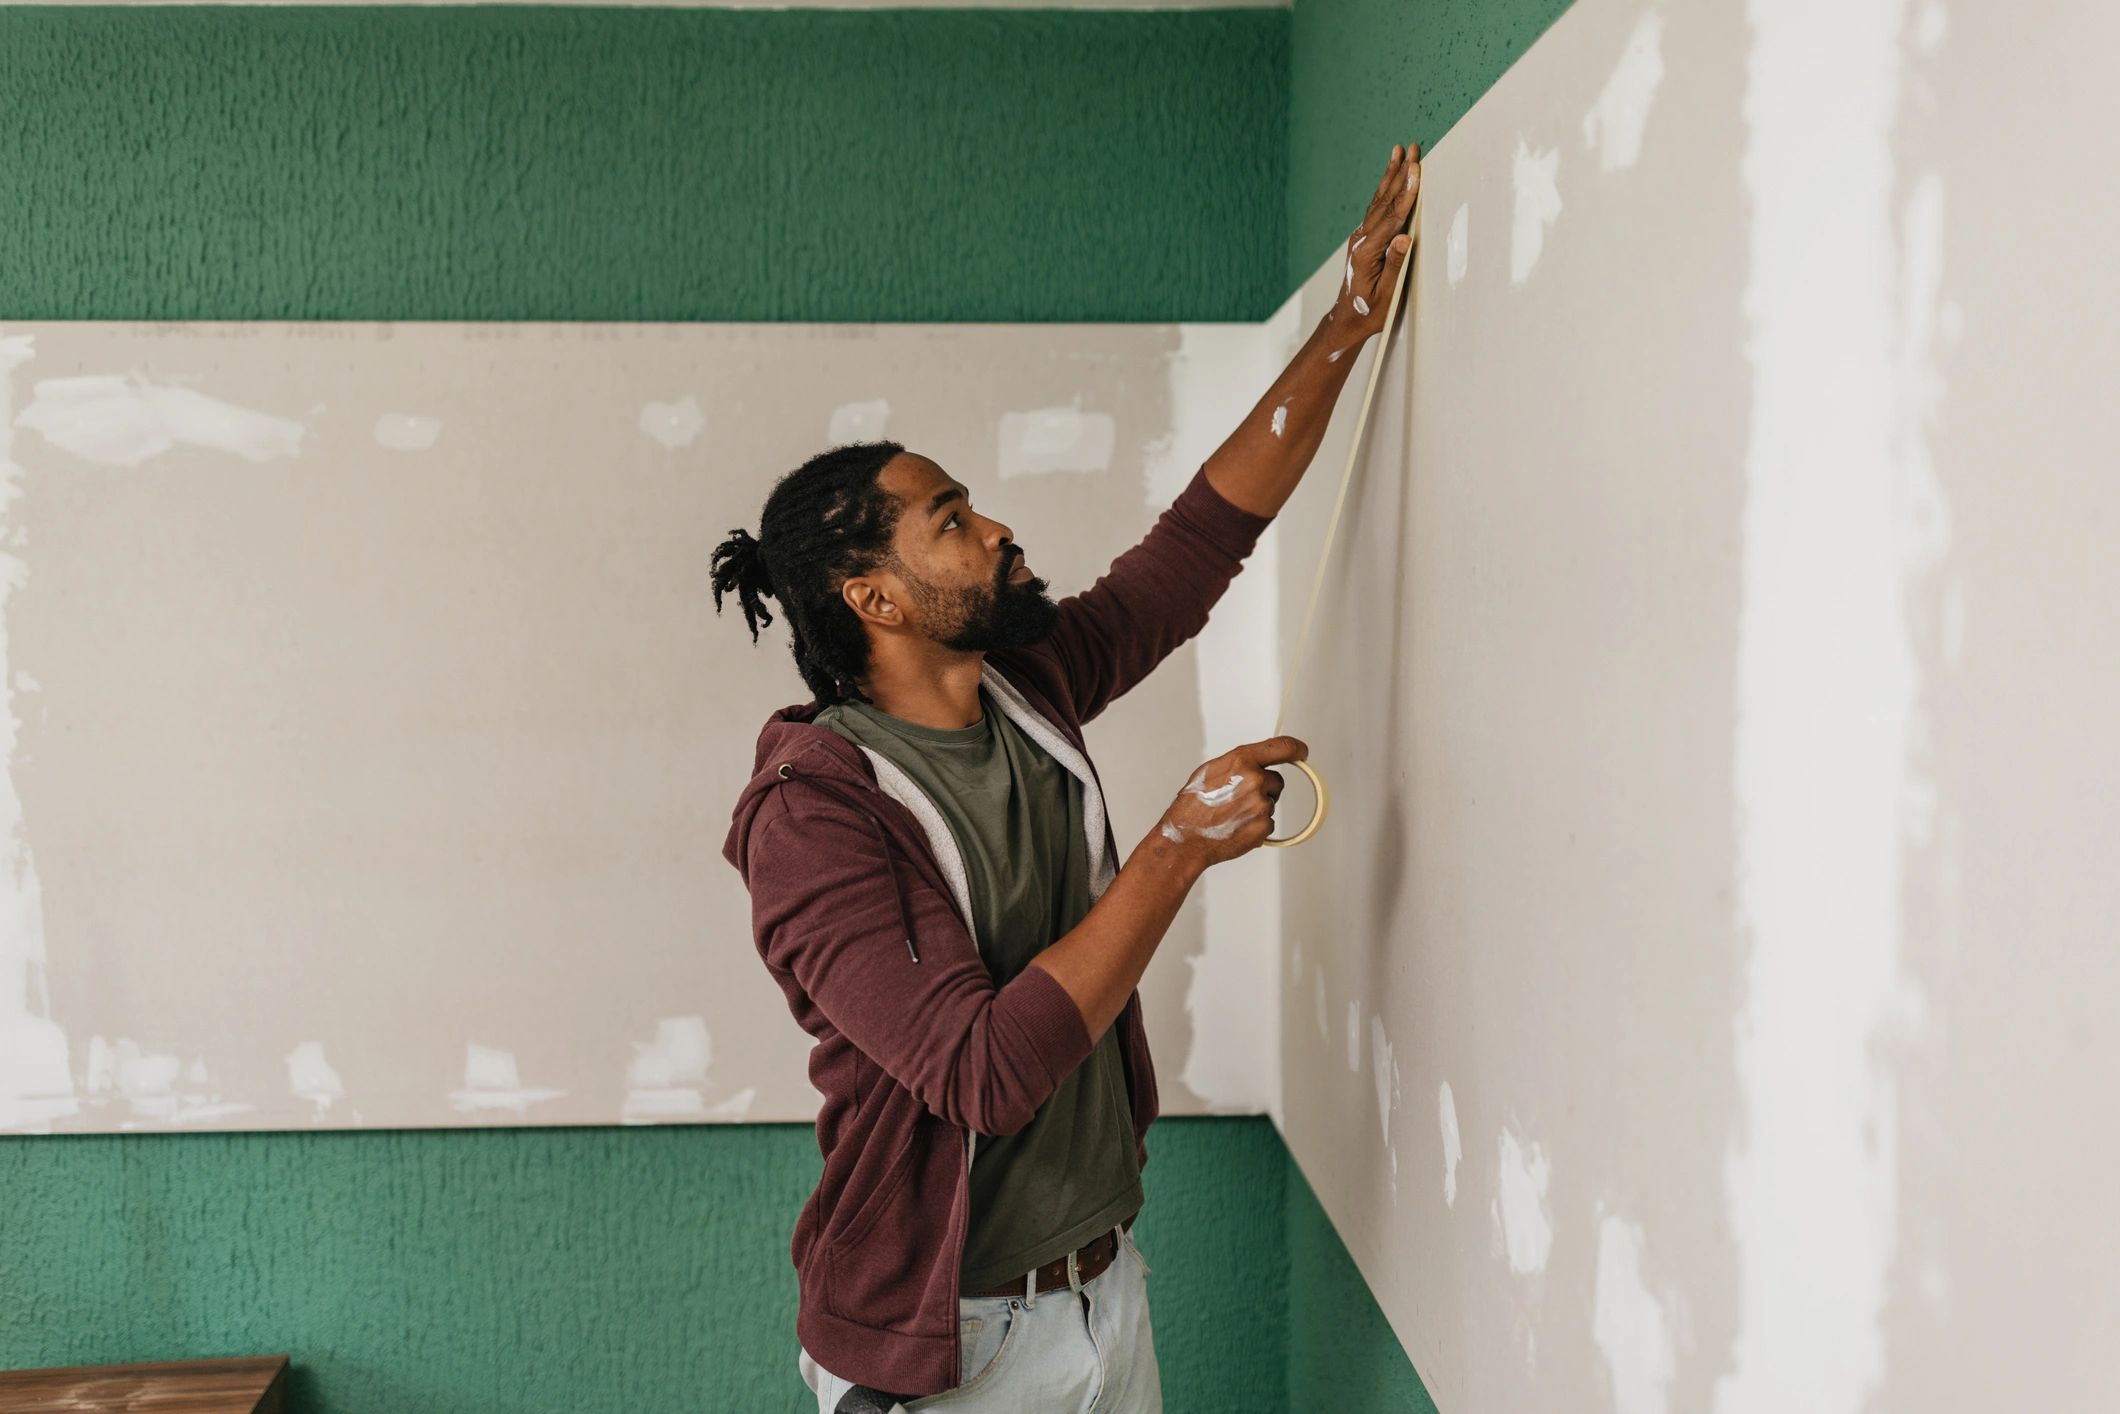
Why Stripping Old Wallpaper Is the First Step to a Flawless Paint Job
Peeling, bubbling, or outdated wallpaper isn't just unsightly—it's a structural obstacle to a smooth, durable paint application. Before rolling on a fresh coat, removing old wallpaper is essential for proper adhesion and long-term finish integrity. In older homes across Northeast Ohio, especially in Lake County, multiple layers of past decor often hide beneath the surface, trapping moisture and compromising drywall. Painting over wallpaper might seem efficient, but it frequently leads to cracked seams, uneven textures, and eventual paint failure.
Wallpaper acts as a non-breathable barrier, particularly vinyl or laminated types common in homes built from the 1970s onward. When left intact, these materials prevent walls from releasing humidity, increasing the risk of mold growth—especially in basements, bathrooms, or kitchens. Professional painters and remodelers agree that surface prep starts with a clean slate: bare drywall or plaster.
Begin by scoring the wallpaper to break the surface seal, then apply a remover solution or use a steamer to loosen adhesive. Work in small sections, carefully scraping away layers without damaging the underlying wall. Once stripped, inspect for residue, repair any damaged areas, and lightly sand for smoothness. This foundational step ensures your new paint bonds properly, delivering a flawless, long-lasting result that enhances both curb appeal and indoor air quality.
Shield Your Space: The Right Way to Protect Floors, Furniture & Fixtures
- Clear and Remove. Start by removing as much furniture as possible from the room. For heavy or permanent fixtures, shift them to the center and cover securely. This minimizes obstruction and protects legs and upholstery.
- Lay Heavy-Duty Drop Cloths. Use canvas or plastic-backed drop cloths on hardwood, tile, or carpeted floors. Canvas resists slipping and absorbs drips, while plastic shields carpet from stains. Overlap seams and tape edges down to prevent tripping hazards.
- Wrap Furniture with Plastic Sheeting. Cover remaining furniture with plastic sheeting, securing edges with painter's tape. Avoid using bedsheets or old towels—they tear easily and trap dust.
- Apply Painter's Tape Strategically. Use high-quality painter's tape along baseboards, window frames, door trim, and ceiling edges. Press firmly with a putty knife to create a clean seal that prevents bleed-through.
- Shield Outlets, Switches & Hardware. Place tape over light switch plates and outlet covers. For door handles and cabinet hardware, wrap in plastic and tape at the base—don't leave exposed metal to trap paint.
Pro tip: Invest in low-adhesion painter's tape for delicate surfaces and always remove tape at a 45-degree angle once paint is dry to the touch.
What Homeowners in Northeast Ohio Need to Know About Pre-Painting Prep
When should I start prepping before painting? Begin prepping 1–3 days before painting, depending on wall condition. Allow time for repairs, drying, and priming—especially critical in humid basements or bathrooms where moisture can delay dry times.
What tools are essential for pre-paint prep? Gather a putty knife, sanding block or orbital sander, spackle, drop cloths, painter's tape, degreasing cleaner, and a vacuum. For older homes, include a drywall repair kit and TSP substitute for deep cleaning.
How do I know if my walls need repairs? Inspect for dents, nail pops, cracks, or peeling paint. Run your hand across the surface—smoothness is key. In homes built before 2000, check for hairline cracks that may indicate settling, common in Northeast Ohio's variable climate.
Should I wash walls before painting? Absolutely. Dust, grease, and grime prevent adhesion. Use a mild detergent or TSP alternative, especially in kitchens and high-traffic areas. Rinse and let dry completely before sanding or patching.
Can I skip sanding if the wall looks smooth? No. Light sanding creates "tooth" for paint to grip. Focus on patched areas and glossy spots. Use 120–150 grit paper and wipe with a tack cloth after.
Do I need to prime after repairs? Yes—spot prime repaired areas or fully prime if you've stripped wallpaper or patched extensively. A primer seals patches and ensures even sheen.
How can I protect floors and trim? Lay drop cloths wall-to-wall and tape edges with painter's tape. Remove outlet covers and caulk gaps for a clean, professional finish.
Wrapping Up: Why Proper Prep Leads to a Professional Paint Finish
You've invested time in clearing furniture, patching holes, sanding rough spots, and cleaning walls—now it's time to appreciate how each step contributes to a flawless paint job. In homes across Northeast Ohio, where humidity and aging materials can challenge even the best paint, thorough preparation isn't just recommended—it's essential. Skipping surface prep leads to peeling, bubbling, and uneven texture, undermining your hard work and the longevity of your paint.
Remember:
- Dust-free, smooth walls ensure even paint adhesion
- Priming seals repairs and creates a uniform finish
- Taped edges and protected flooring preserve clean lines and prevent costly cleanup
The effort you put in now directly impacts how long your paint lasts and how professional it looks. Whether refreshing a single accent wall or transforming an entire home, these foundational steps set the stage for success.
If you're unsure about your readiness to paint or want expert-level results without the hassle, consider consulting a local handyman in Lake County for a seamless renovation experience. Your space deserves a finish that's as durable as it is beautiful—start strong, finish stronger.