Refinish Kitchen Cabinets: DIY Guide
7/30/2025
Transform Your Kitchen Without the Cost: The Smarter Way to Renew Your Cabinets
Tired of outdated kitchen cabinets but not ready for a full remodel? You're not alone—many homeowners in Lake County and surrounding areas are turning to cabinet refinishing as a budget-friendly, high-impact alternative to costly replacements. Instead of tearing out perfectly functional cabinetry, refinishing breathes new life into your existing setup by updating surfaces through sanding, restaining, or repainting. This approach typically costs a fraction of a full remodel—often 50% less—while delivering results that can completely transform your kitchen’s look and feel.
Refinishing makes sense when your cabinet boxes are still structurally sound but the doors, drawer fronts, or finishes show wear, discoloration, or age. It's ideal for kitchens with good layout and functionality that just need a visual refresh to match modern tastes. Whether you're dealing with honey-toned oak from the '90s or dull, chipped surfaces, refinishing offers a customizable solution that aligns with your style—without the mess, timeline, or disruption of full demolition. In this guide, you’ll learn the key steps to achieve professional-quality results, common mistakes to avoid, and how to extend the lifespan of your newly refinished cabinets for years to come.
Prep Like a Pro: How to Get Your Kitchen Cabinets Ready for Refinishing
Before you apply a single coat of paint or stain, proper cabinet preparation is the secret to a durable, professional-looking refinish. Skipping these essential steps can lead to peeling, uneven finishes, and wasted effort—especially in homes across Lake County and similar Midwest climates where humidity affects adhesion. Follow this detailed guide to ensure your kitchen cabinets are perfectly prepped for a long-lasting transformation.
- Remove All Hardware and Hinges Take off knobs, pulls, and hinges using a screwdriver. Store them in labeled bags to avoid confusion during reinstallation. Removing hardware gives you full access to corners and edges, preventing missed spots.
- Deep Clean with a Degreaser Grease and grime from cooking build up over time, particularly on upper cabinet fronts. Use a TSP substitute or a dedicated degreasing cleaner mixed with warm water. Scrub gently with a microfiber cloth or non-scratch sponge, then wipe dry immediately.
- Clean the Interior and Undersides Don’t forget inside doors and drawer interiors. Dust and food residue accumulate here too. A vacuum with a brush attachment helps remove loose debris before wiping down surfaces.
- Lightly Sand with 120–150 Grit Sandpaper Use a sanding block or orbital sander to “scuff” the surface. This creates “tooth” for primer and paint to adhere. Focus on smoothing imperfections and avoiding heavy sanding that exposes raw wood underneath.
- Wipe Away Dust with Tack Cloth After sanding, use a tack cloth to remove all fine dust. Regular rags can leave lint, but tack cloths ensure a clean, sticky-free surface ready for priming.
Pro tip: Work in a low-humidity area and allow cabinets to dry completely between steps for best results.
Paint vs. Stain: Choosing and Applying the Perfect Cabinet Finish
Refinishing kitchen cabinets starts with a crucial decision—paint or stain? Each offers distinct benefits depending on your wood type, desired aesthetic, and maintenance preferences. Follow these steps to choose wisely and apply like a pro.
- Assess Your Cabinet Material Solid wood cabinets take stain beautifully, enhancing natural grain. Manufactured woods like MDF or particleboard work best with paint, which provides a smooth, uniform finish.
- Decide on the Look Stain highlights texture and warmth—ideal for traditional or rustic kitchens in areas like Lake County, where natural finishes complement regional home styles. Paint offers versatility, especially for modern or cottage-themed spaces, and hides imperfections well.
- Select the Right Product Type Choose an oil-based or water-based penetrating stain for deep color retention. For paint, opt for a durable, water-resistant, semi-gloss or satin finish—especially important in high-moisture kitchens.
- Prepare and Prime Sand cabinets to raw material, clean with TSP, then apply a sanding sealer for stain, or a bonding primer for paint. This ensures even absorption and prevents blotchiness.
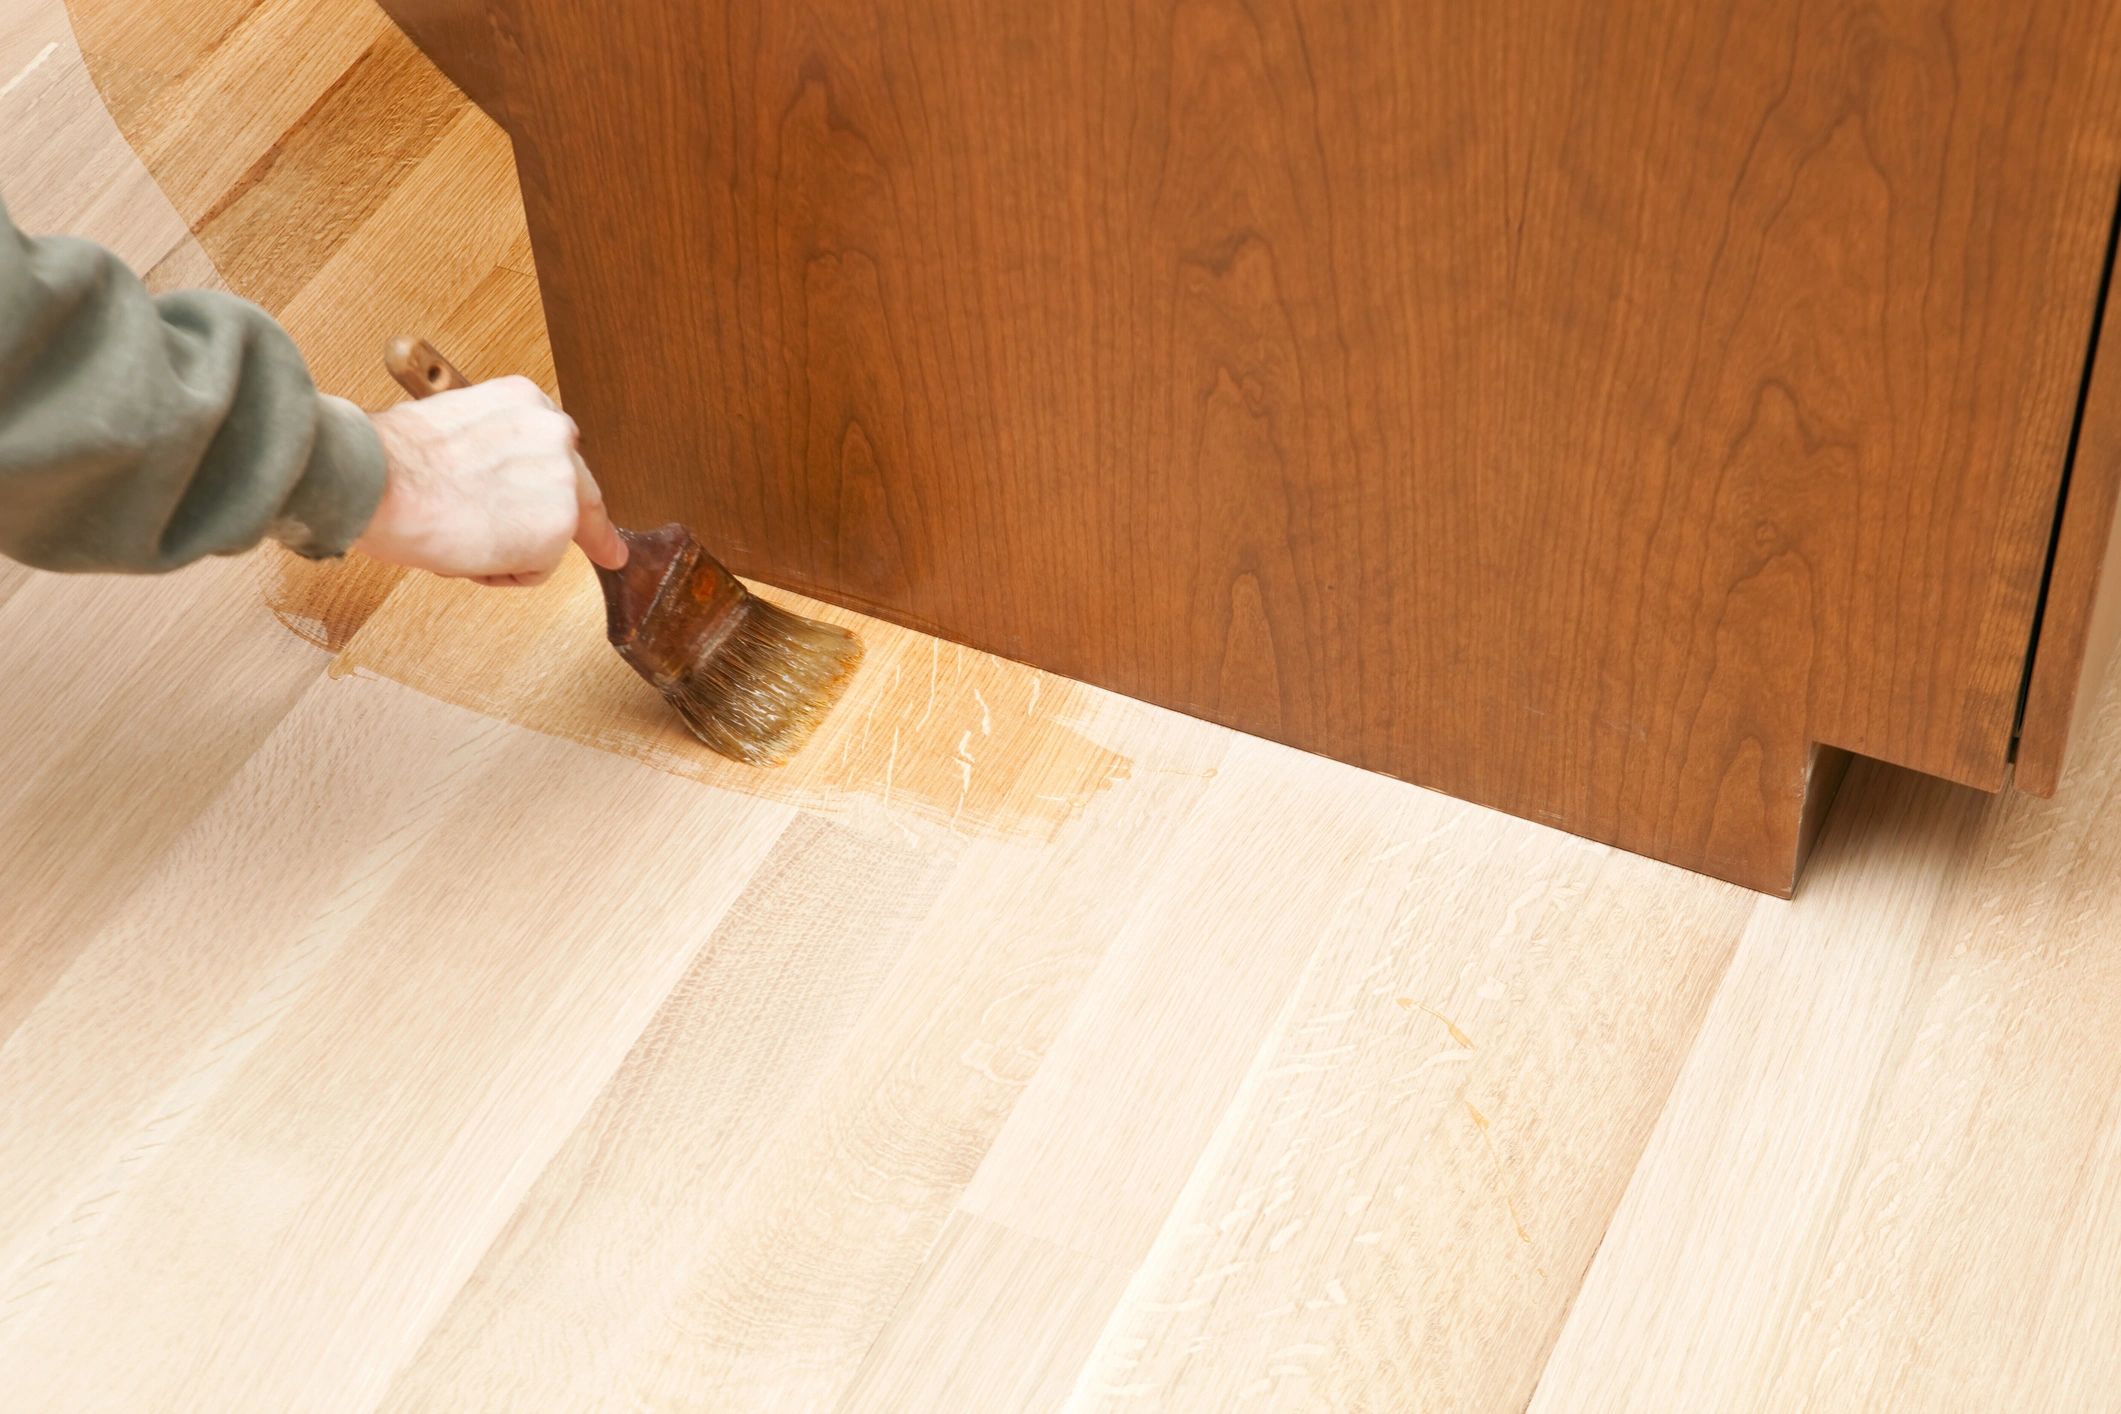
- Apply in Thin, Even Coats Use a high-density foam roller or sprayer. For stain, wipe off excess with a lint-free cloth after 5–10 minutes. For paint, allow 2–4 hours between coats; sand lightly with 220-grit between layers.
Pro Tip: Finish with a clear polyurethane topcoat for stain to boost scratch resistance—especially important in households with kids or heavy kitchen use.
Avoid Costly Errors and Unlock a Flawless Cabinet Finish
Refinishing kitchen cabinets offers an affordable way to transform your space, but poor technique can lead to a blotchy, uneven, or short-lived result—especially in humid environments like those found across Northeast Ohio. To achieve a smooth, durable finish that stands up to daily use, steer clear of common pitfalls and follow industry-proven methods.
First, never skip proper cabinet preparation. Failing to remove hardware, clean grease buildup, or sand surfaces adequately leads to poor paint adhesion and peeling. Use a deglosser or mild TSP solution to strip residue, then lightly sand with 120–150 grit paper to create a "tooth" for primer to grip.
Second, avoid rushing the drying process. Applying coats too quickly traps moisture and causes bubbling. Let each layer dry completely, and sand lightly between coats with 220 grit paper for a glass-smooth result.
Use a high-quality bonding primer—especially on laminate or glossy surfaces—and opt for cabinet-grade paint with a semi-gloss or satin finish for moisture and wear resistance. For best results, use a sprayer for even coverage, or if brushing, maintain a wet edge to prevent lap marks.
Finally, allow at least 72 hours of cure time before reattaching hardware and reloading cabinets. A fully cured finish is harder, more durable, and better protected against scratches and household cleaners.
Your Cabinet Refinishing Questions Answered: Costs, Timeline, Durability & More
Refinishing kitchen cabinets is a smart, cost-effective way to transform your space—but it’s natural to have questions. Below are the most common concerns homeowners have when considering this project, with clear, practical answers to guide your decision.
How much does it cost to refinish kitchen cabinets?
Professional cabinet refinishing typically ranges from $1,500 to $4,500, depending on kitchen size, materials used, and finish type. DIY options can reduce costs significantly, though high-quality paints, stains, and prep materials still require a budget of $300–$800. In areas like Lake County, Ohio, where humidity affects wood integrity, investing in durable sealants is recommended for long-term value.
How long does cabinet refinishing take?
Most jobs take between 3 to 7 days. This includes removal of hardware, sanding, filling imperfections, applying primer and finish coats, and reassembly. Keep in mind that full curing can take up to two weeks—avoid heavy use during this period to protect the new surface.
Are refinished cabinets durable?
Yes—when done properly. Refinished cabinets can last 10–15 years with proper care, especially when using hardened conversion varnish or catalyzed finishes. These products resist moisture, scratches, and daily wear, making them ideal for high-traffic kitchens.
Can all cabinet types be refinished?
Solid wood and plywood cabinets respond best to refinishing. Particleboard or MDF can be refinished but require extra care during sanding and moisture control. Avoid refinishing damaged or structurally compromised cabinets—replacement may be a better long-term solution.
How do I maintain refinished cabinets?
Clean with a soft cloth and pH-neutral cleaner. Avoid abrasive scrubbers and excess water. Wipe spills promptly and use cabinet-grade polishes annually to maintain sheen and protect the finish.
Is cabinet refinishing messy?
Dust and odor are common during sanding and painting. Professionals use dust-containment systems and low-VOC finishes to minimize disruption. If DIY-ing, seal off the kitchen and use fans or air purifiers to improve air quality.
Can I change the cabinet color drastically?
Yes—dark to light or vice versa. However, drastic color changes may require extra primer and topcoat layers. Proper surface prep ensures smooth results and prevents tannin bleed, especially in oak or other porous woods.
Transform Your Kitchen with a Simple, Affordable Upgrade
Refinishing kitchen cabinets is one of the most cost-effective ways to breathe new life into your home—without the mess, expense, or long timeline of a full remodel. As homeowners in Lake County and surrounding Ohio communities know, updating dated or worn cabinets can dramatically improve both functionality and aesthetic appeal. The process, when approached methodically, allows you to preserve your existing cabinetry while achieving a fresh, modern look. From assessing cabinet condition and selecting finishes to sanding, painting, or staining, each step contributes to a professional-quality transformation you can be proud of.
To get started, evaluate your cabinet material and current finish to determine the best refinishing approach. Solid wood cabinets often take paint and stain beautifully, while laminates may require extra prep like light sanding and bonding primers. Proper cleaning, deglossing, and masking ensure smooth, durable results. Whether you choose to brush, roll, or spray your finish, attention to detail makes all the difference.
For long-lasting results, consider applying a water-resistant topcoat—especially important in Lake County’s humid climate. Regular maintenance, like wiping with a soft, damp cloth and avoiding abrasive cleaners, helps preserve the new finish.
Ready to refresh your kitchen? Begin with a small test area, gather your supplies, and take your time with each step. The effort you put in today will deliver lasting value and beauty for years to come.