How to Texture Drywall to Match Existing Walls
1/24/2026
The Hidden Challenge of Seamless Drywall Textures
Matching drywall texture isn’t just a finishing touch—it’s a critical step in making repairs disappear. Whether you're patching a water stain in a Painesville ranch home or repairing a wall after upgrading electrical outlets in a Madison basement, an ill-matched texture stands out like a sore thumb. Homeowners often underestimate how much light and shadow highlight inconsistencies in orange peel, knockdown, or skip-trowel finishes, especially on large, flat surfaces. A mismatch doesn’t just look unprofessional—it can devalue your space and draw attention to work that should go unnoticed.
The real challenge? Drywall texture is both an art and a science, influenced by tools, compound consistency, humidity, and application technique. Even seasoned DIYers struggle to replicate what seems like a simple pattern. In Lake County’s variable climate, drying times fluctuate, further complicating efforts to achieve a uniform look. But with the right approach, you can blend new patches seamlessly into existing walls.
In this guide, you’ll learn how to identify common textures, select the proper tools and mud types, and apply tested methods to replicate popular finishes. From analyzing texture depth to mastering spray techniques, we’ll walk you through practical steps that deliver results—without requiring years of tradeshow experience.
Prepare Like a Pro: Your Essential Pre-Texturing Checklist
Before you apply a single stroke of texture to drywall, proper surface preparation and tool readiness make all the difference in achieving a seamless match with existing walls. Whether you're repairing a patch in a basement in Lake County or blending into a living room ceiling in Northeast Ohio, skipping prep can lead to visible seams, uneven absorbency, and texture that simply doesn’t blend.
Start by inspecting and repairing the drywall. Sand down high spots and fill dents or gaps with lightweight joint compound. Feather the edges completely to avoid shadows. Allow it to dry fully, then sand again using 120-grit paper for a smooth transition between old and new surfaces. Wipe away all dust with a damp cloth—drywall pores absorb texture differently when contaminated.
Next, prime the repaired area with a quick-dry, low-VOC drywall primer. This evens out porosity so your texture material adheres consistently and matches sheen. Let it cure completely.
Gather your tools and materials: drywall taping knife, spray texture hopper gun (for knockdown or orange peel), texture compound (pre-mixed or powder), mud pan, sanding block, roller or brush for primer, and proper PPE like goggles and a respirator. For matching popcorn or knockdown, consider using a texture sample kit or practice on scrap drywall first.
Pro tip: Work in a dust-free, well-ventilated space with stable humidity—ideal conditions for predictable drying and consistent results. Taking time in prep ensures your texture not only matches but lasts.
Match Your Walls Perfectly: A Step-by-Step Guide to Analyzing Texture and Choosing the Right Technique
Achieving a seamless finish when texturing drywall means closely matching the existing wall texture. Here’s how to do it right:
- Inspect the Existing Texture Up Close Use a bright work light at an angle to reveal texture depth and pattern. Run your fingers over the surface to assess thickness—light textures like orange peel feel subtle, while knockdown or skip trowel have more pronounced ridges.
- Identify the Texture Type Common residential textures include:
- Orange peel: Fine, spray-applied mist, common in modern homes.
- Knockdown: Thicker mud sprayed first, then flattened with a trowel.
- Skip trowel: Hand-troweled with a trowel for an artisan, uneven look.
- Test in an Inconspicuous Area Dab a small patch of new mud and apply your chosen technique in a closet or behind a door. Let it dry completely, then paint to verify the match under natural light.
- Select the Right Tools and Materials Use a mud hopper and airless sprayer for orange peel or knockdown; a steel trowel works best for skip trowel. Adjust mud consistency—thinner for spray, thicker for hand application.
- Practice Consistency in Application Hold the sprayer at a steady distance and speed. For hand techniques, maintain uniform pressure and stroke direction to mimic the original pattern.
Matching texture isn’t just about technique—it’s about observation and repetition. Take your time, and when in doubt, layer lightly and build up gradually for the most authentic blend.
Mastering the Texture: Step-by-Step Application Techniques for Seamless Drywall Blending
Achieving a flawless texture match on drywall repairs requires precision and the right tools—whether you're patching water damage in a Lorain basement or refreshing a wall in a Cleveland Heights bungalow. Start by selecting the appropriate method based on the existing wall’s finish: spraying for popcorn or orange peel, rolling for knockdown or light stipple, and hand-troweling for smooth or swirl patterns.
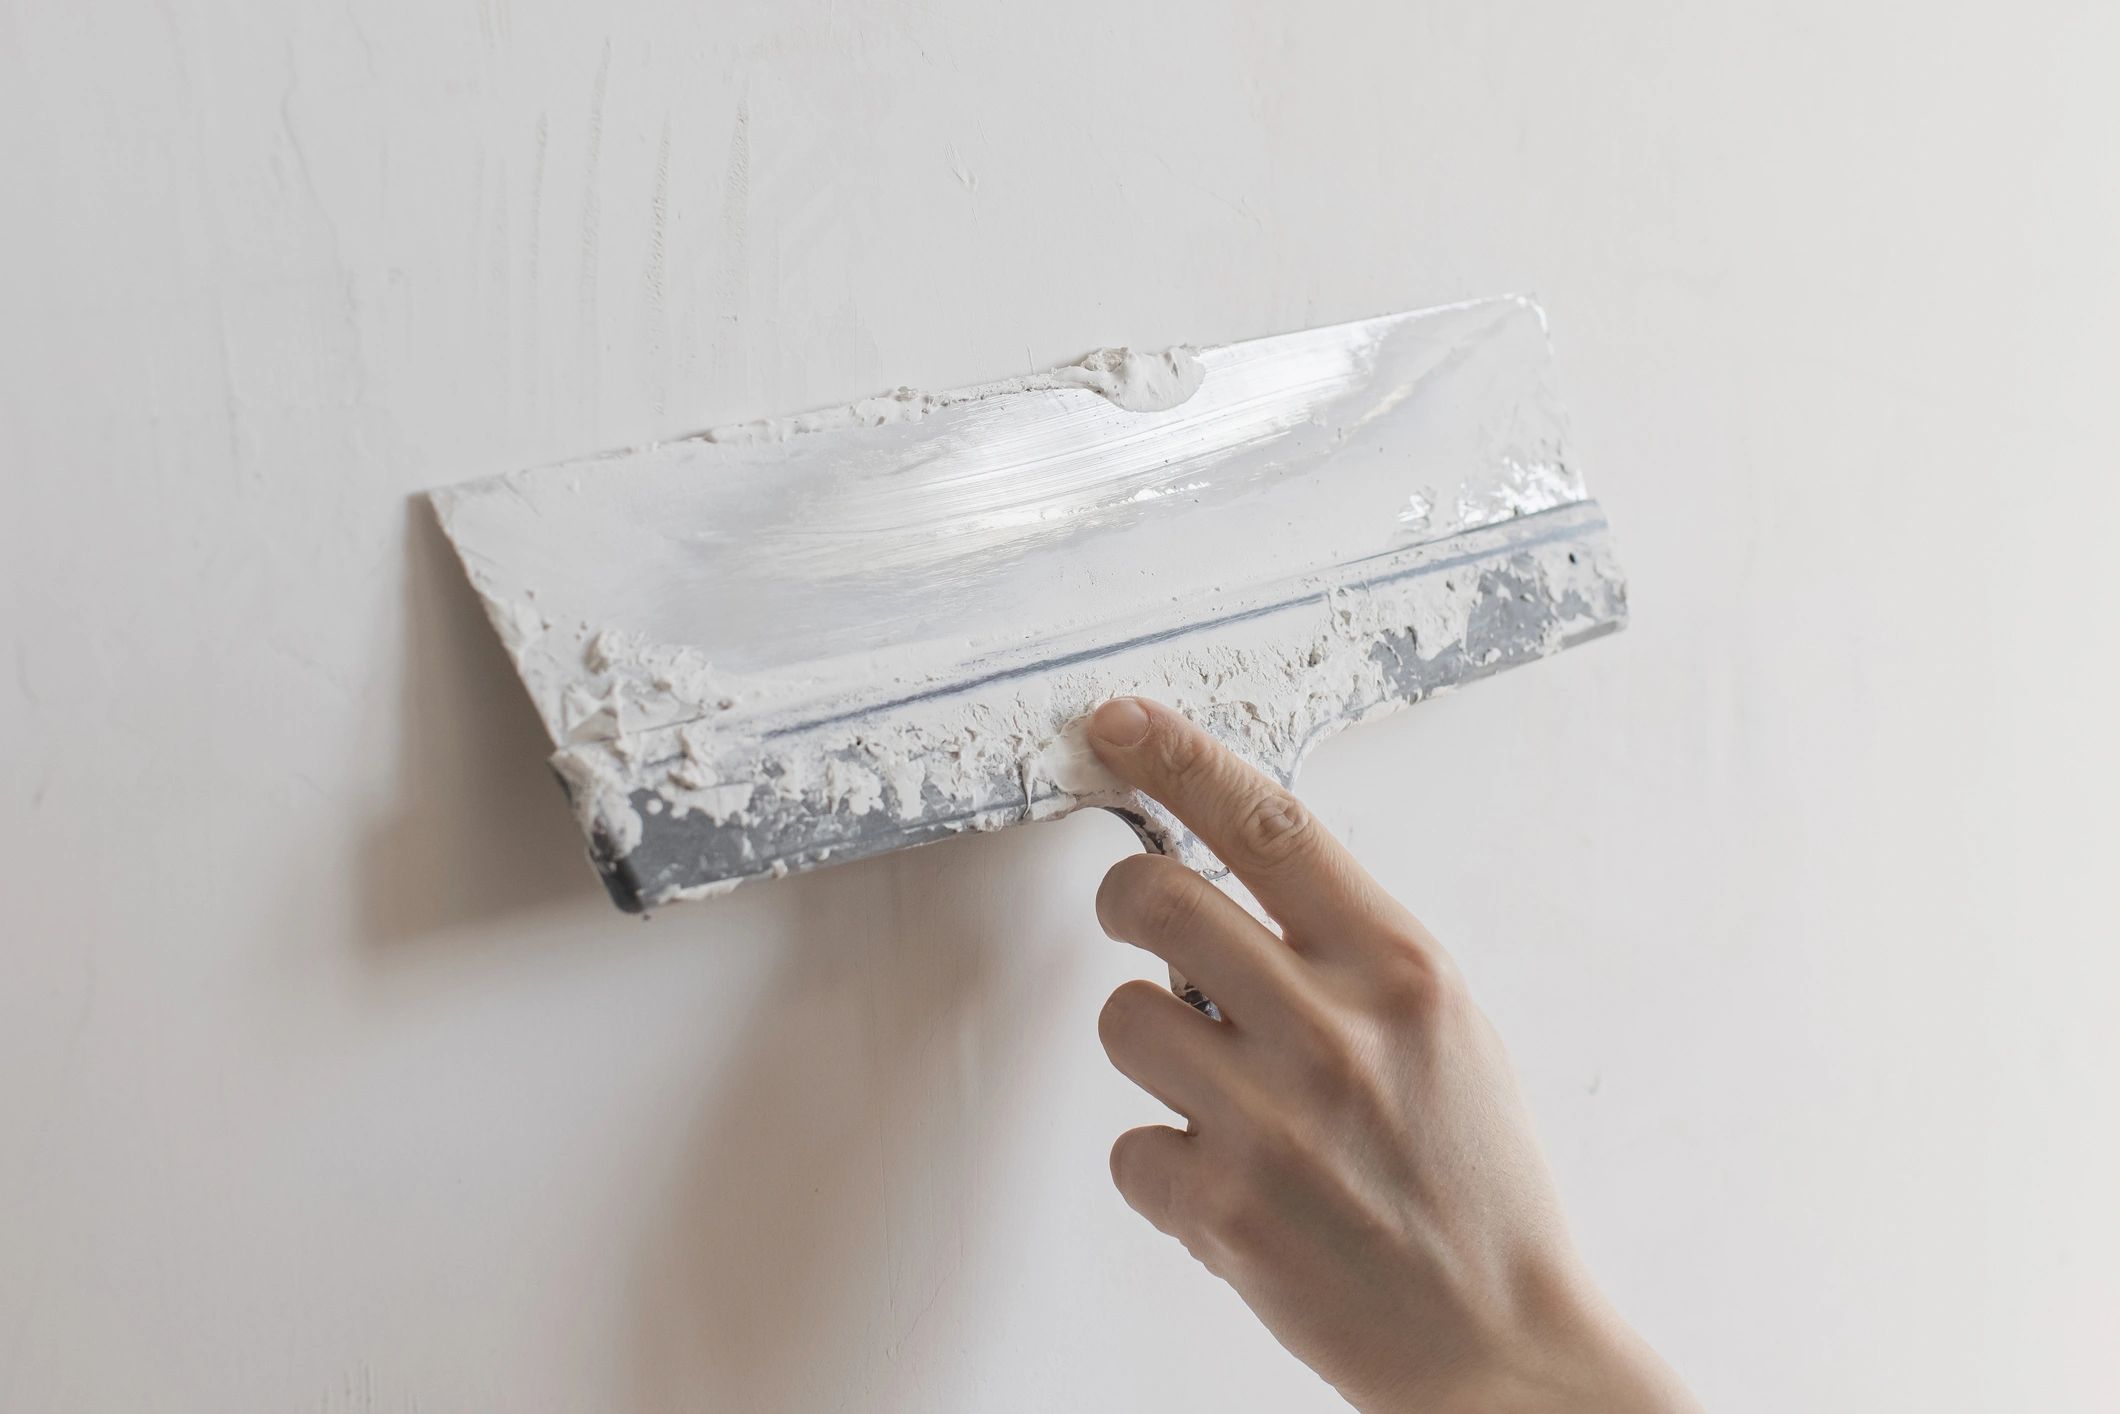
- Prepare the Surface: Clean the surrounding area and sand repair edges to a feathered finish. Use a wide putty knife to apply joint compound smoothly over seams or patched areas.
- Load Your Tool: For rolling, dip the roller into texture compound (pre-mixed or homemade with water and joint compound) and roll off excess to avoid drips. With a hopper gun, adjust nozzle size and air pressure to mimic the original texture’s density.
- Test First: Always test your technique on a scrap board or inconspicuous wall area to fine-tune consistency and tool settings.
- Apply Evenly: Work in small sections, maintaining a consistent distance from the wall—approximately 12–18 inches for spraying, light pressure for rolling. For hand-troweling, use a flexible trowel with subtle wrist motion to replicate swirls or skip trowel effects.
- Blend Edges: Feather the textured perimeter into the existing wall to eliminate hard lines. Mist lightly with water if needed to smooth transitions before drying.
- Prime and Paint: Once dry, prime the area to ensure even paint absorption, minimizing visual differences.
Tip: In humid environments like Northwest Ohio basements, use moisture-resistant joint compound and allow extra drying time. Matching texture isn’t just visual—it’s about replicating depth, shadow, and surface feel for a truly seamless repair.
7 Costly Drywall Texturing Mistakes to Avoid (And How to Fix Them)
Texturing drywall to seamlessly match existing walls can elevate your renovation’s finish—but even experienced DIYers and contractors stumble on common pitfalls. In homes across Lake County and throughout Northeast Ohio, where older properties often feature unique textures like orange peel, knockdown, or swirl patterns, precision matters. Avoid these seven frequent errors and learn how to troubleshoot them for professional-looking results.
1. Skipping a Test Patch
Always spray or apply texture on a scrap piece or hidden area first. Different mud consistencies, nozzle sizes, and pressure settings drastically alter the final look. A test patch helps you dial in the right equipment setup and compound thickness before committing to visible walls.
2. Inconsistent Mud Consistency
Too thick, and your texture becomes lumpy; too thin, and it won’t adhere or replicate the pattern. Store-bought texture mix should resemble pancake batter. Adjust with water sparingly—and stir continuously to prevent settling during use.
3. Holding the Spray Gun at the Wrong Angle or Distance
For uniform coverage, keep the hopper gun 12–18 inches from the wall and move in a steady, overlapping motion. Tilting the gun or moving too close causes uneven buildup or “tailing,” where drips form spiky peaks. Maintain a perpendicular angle for consistent dispersion.
4. Overworking the Knockdown
If you’re applying a knockdown texture, timing is key. Wait until the sprayed texture dulls to a matte finish—typically 10–20 minutes—before skimming with a trowel. Knocking down too early flattens the pattern; too late increases resistance and creates uneven valleys.
5. Ignoring Ambient Conditions
High humidity in basements or chilly garage workshops slows drying and alters texture behavior. Work in stable, dry environments when possible, and use a fan to regulate airflow—avoid direct drafts that can distort wet patterns.
6. Mismatching the Existing Texture Pattern
Take a high-resolution photo of the current wall and study the texture type and density. Use comparable materials and tools—like a specific sprayer tip (e.g., ¼” for light orange peel) or hand-technique—for accurate replication.
7. Failing to Feather Edges Properly
Blend new texture into old by tapering the application outward. Hard lines between old and new areas are glaring. Use light passes to gradually reduce texture depth, ensuring a smooth visual transition before painting.
FAQs: Your Top Questions About Matching Drywall Texture and Finishing Right
How long should I wait for drywall mud to dry before texturing or painting?
Drying time depends on the joint compound thickness, humidity, and room temperature. In most Northeast Ohio homes, especially in basements or high-humidity areas, allow 24 hours between coats. Avoid rushing—premature sanding or texturing leads to cracks. Use a dehumidifier in damp conditions to speed drying without sacrificing quality.
Should I use the same paint finish as the existing walls?
Yes—matching the sheen (flat, eggshell, satin) is crucial for seamless blending. Even if the color matches, a different finish will highlight repairs. Test your paint on a small textured patch and view it under natural and artificial light to confirm consistency.
What tools do I need to replicate common drywall textures?
Essential tools include a hawk and trowel for knockdown, a texture sprayer for orange peel or skip-trowel, and a roller for popcorn or sand finishes. A zip pole extension helps reach ceilings comfortably. For precise replication, bring a sample photo or consult local drywall specialists familiar with regional styles in Lake County.
Can I texture over old paint or patched areas?
Only if the surface is clean, dry, and properly primed. Unprimed patches absorb moisture unevenly, causing texture distortion. Apply a mist coat of watered-down primer first to ensure uniform adhesion.
When should I hire a professional instead of DIY-ing?
Hire a pro if you’re dealing with large areas, ceilings, or complex textures like swirl or lace. In older homes with inconsistent existing texture, a skilled technician ensures a flawless match and saves time, reducing costly rework.
Final Touches: Mastering the Match for Seamless Drywall Results
Achieving a flawless drywall texture match isn’t just a finishing move—it’s the detail that elevates your entire space from DIY to professional-grade. By now, you’ve prepped the surface, selected the right technique—whether knockdown, orange peel, or skip-trowel—and replicated the pattern with precision. The key lies in consistency: using the same mud thickness, spray pressure, and hand motion as the original. Small discrepancies stand out under Ohio’s shifting natural light, especially in open-concept basements or living areas common in Lake County homes. Always test your texture on a scrap piece or inconspicuous area first, and allow it to dry completely to assess the final look.
Once textured, proper sanding and priming ensure uniform paint absorption, avoiding patchy walls that scream “mismatch.” Remember, humidity in Northeast Ohio basements can affect drying times—use a dehumidifier if needed to maintain ideal conditions. For best results, cut in edges before rolling paint and use the same high-quality roller for both old and new sections.
Ready to perfect your finish? Assess your wall’s existing texture, gather the right tools, and take your time—quality can’t be rushed. With patience and attention to detail, your repair will blend seamlessly, preserving the integrity and value of your home. Your walls aren’t just fixed—they’re finished right.