How to Prep Walls Before Painting
11/8/2025
Why Skipping Wall Prep Can Ruin Your Paint Job
A flawless paint finish starts long before the first brushstroke—it begins with proper wall preparation. Homeowners in Lake County and surrounding areas often underestimate how crucial prep work is, only to face peeling paint, uneven coverage, or persistent stains months later. The truth? Paint can’t hide problems—it only covers them temporarily. Without addressing underlying issues like holes, grease, or flaking plaster, even the highest-quality paint will fail prematurely.
This guide will walk you through every essential step to get your walls truly ready for paint, ensuring a smooth, durable, and professional-looking result. You’ll learn how to clean surfaces effectively, repair cracks and dents, sand properly for adhesion, and prime for optimal finish. Whether you’re refreshing a single room or tackling a whole-house repaint, these techniques apply to drywall, plaster, and previously painted surfaces.
By the end, you’ll have the knowledge to avoid common pitfalls, save money on repaints, and achieve a finish that lasts for years. Let’s turn your painting project from a quick cosmetic update into a long-term home improvement win.
Clean Walls Like a Pro: The Essential Pre-Paint Prep Guide
Before rolling on a fresh coat of paint, proper wall cleaning is non-negotiable for a smooth, long-lasting finish. Dirt, grease, and grime create an invisible barrier that prevents paint from adhering correctly, leading to peeling, bubbling, or an uneven appearance—especially in high-traffic areas like kitchens and hallways common in Lake County homes. Follow this step-by-step process to ensure your walls are spotless and ready for paint.
- Clear and Protect the Area Remove furniture or cover it with drop cloths. Protect floors with plastic sheeting or canvas tarps to avoid splash damage during cleaning.
- Dust and Vacuum First Use a microfiber duster or vacuum with a brush attachment to eliminate cobwebs, dust, and loose debris from corners, baseboards, and ceiling edges.
- Mix a Gentle Cleaning Solution Combine warm water with a few drops of mild dish soap in a bucket. For greasy areas (like near stoves or light switches), add a tablespoon of trisodium phosphate (TSP) substitute or household cleaner safe for painted surfaces.
- Wash Walls from Top to Bottom Dip a sponge or soft cloth into the solution, wring thoroughly, and wash in small sections. Focus on visible stains, fingerprints, and areas near doors and outlets. Rinse with a clean, damp cloth to remove soap residue.
- Spot-Treat Stubborn Areas Use a Magic Eraser or a baking soda paste for scuff marks or nicotine buildup. For mold-prone spots (common in humid basements), use a bleach-water mix (1:3 ratio), ventilate well, and wear gloves.
- Let Walls Dry Completely Wait at least 24 hours before priming or painting, especially in cooler or high-moisture environments.
Pro Tip: Always test cleaning solutions on a small, inconspicuous area first to avoid damaging existing paint or texture.
Fixing Holes and Cracks Like a Pro: A Step-by-Step Guide
Before applying a fresh coat of paint, it’s essential to address any wall imperfections—like holes, cracks, or dents—that compromise both appearance and durability. Proper repair ensures a smooth, long-lasting finish and prevents future peeling. Follow this step-by-step process to prep your walls with professional results.
- Clean and Prepare the Surface Remove dust, dirt, or loose paint around the damaged area using a damp cloth or sponge. Let it dry completely. This step ensures better adhesion of the spackle.
- Apply Spackle with a Putty Knife For small holes or nail pops, use lightweight spackle. Press it firmly into the depression with a 1.5- to 2-inch putty knife, feathering the edges outward to blend with the surrounding wall. For larger cracks or deep holes, apply spackle in thin layers, allowing each to dry before adding the next.
- Let It Dry Completely Follow the product’s drying time—usually 2–4 hours. Avoid rushing this step; incomplete drying leads to cracking or uneven sanding.
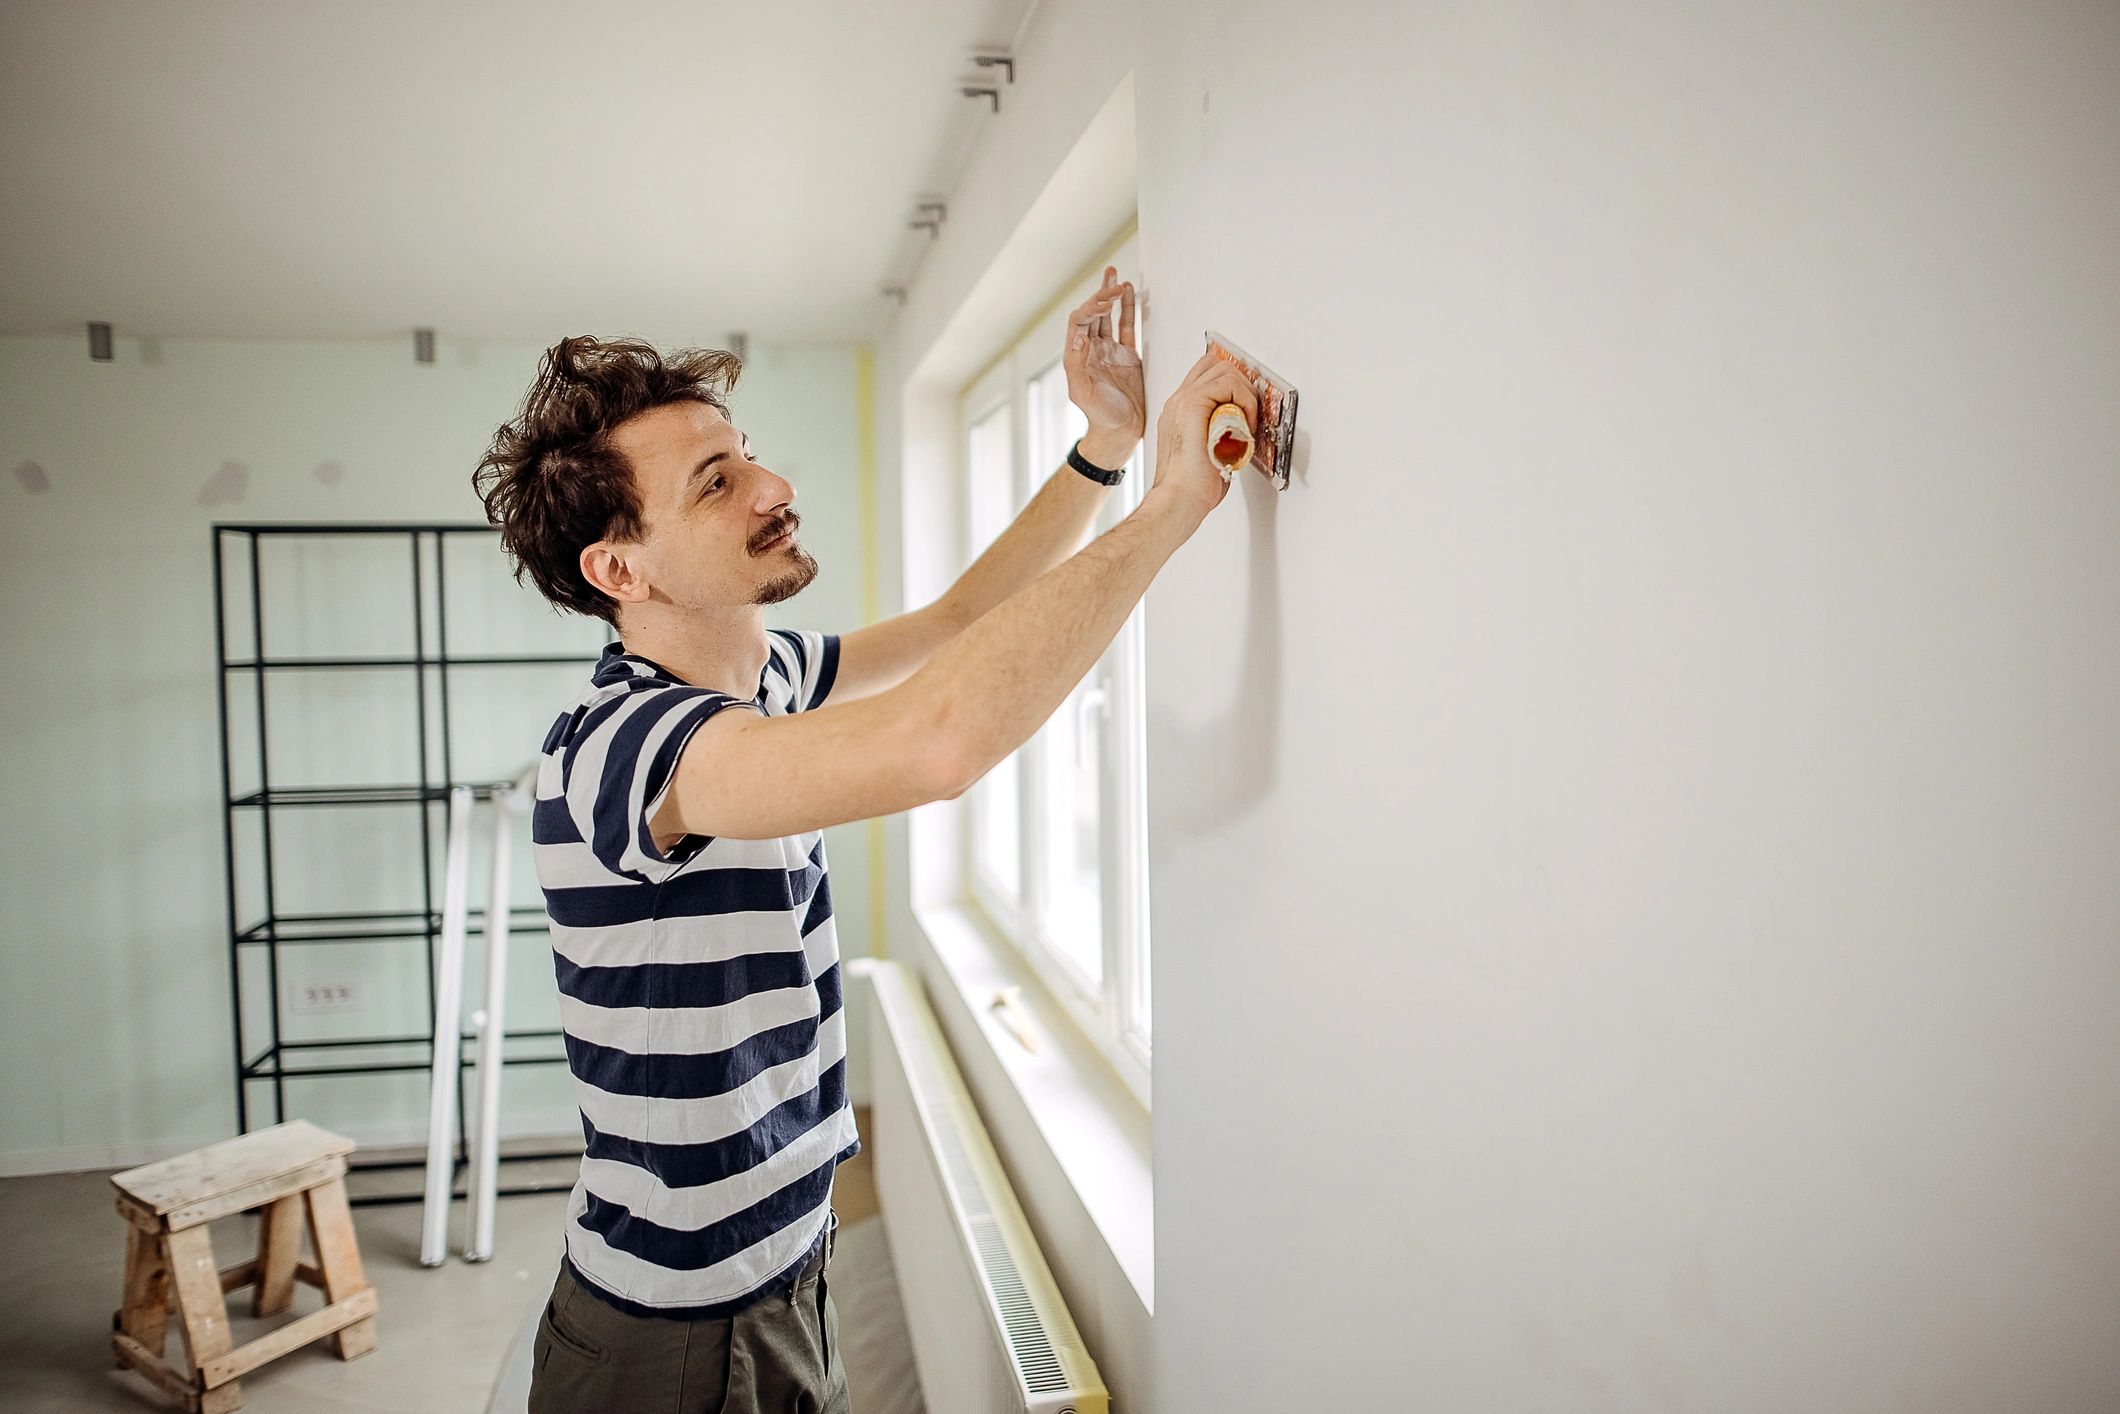
- Sand Smooth with Fine-Grit Paper Use 120- to 220-grit sandpaper to gently level the repaired area. Sand in circular motions until flush with the wall. Wipe away dust with a microfiber cloth.
- Inspect and Repeat if Needed Hold a flashlight at an angle to spot any low spots or ridges. Reapply spackle if necessary, then sand again for seamless results.
Pro Tip: In humid areas like Lake County, ensure proper ventilation during drying to prevent moisture retention. Always prime repaired spots before painting to seal the patch and prevent paint absorption differences.
The Right Way to Prime Walls for a Flawless Paint Job
Priming is a critical step that can make or break your paint finish—especially in humid or temperature-variable climates like Lake County. Skipping primer often leads to peeling, uneven coverage, and extra coats of paint. Here’s how to prime walls correctly for long-lasting results.
- Assess Whether Primer Is Needed Always prime bare drywall, patched areas, or surfaces with stains (like water marks or smoke residue). Older walls with glossy finishes or major repairs also benefit from a primer to ensure proper adhesion.
- Choose the Correct Primer Type Use drywall primer for new gypsum board, stain-blocking primer for water or smoke damage, and bonding primer for slick surfaces like tiles or metal. In high-moisture areas—such as kitchens or basements in Lake County homes—mold-resistant primers offer added protection.
- Prep the Surface First Clean walls with a TSP substitute to remove dust and grease. Sand rough spots and fill holes, then wipe dry. A clean, smooth surface ensures primer adheres evenly.
- Cut In Edges Before Rolling Use a brush to apply primer along corners, trim, and ceilings. Then, use a 9-inch roller with a medium nap to cover large areas in overlapping “W” patterns for consistent coverage.
- Let It Dry Completely Most primers need 4–6 hours to dry before painting. Humidity may extend drying time—wait until the surface feels dry and non-tacky.
Proper priming saves time, paint, and future repairs—delivering a professional-looking finish that lasts.
7 Costly Mistakes to Avoid (and Pro Tips for a Flawless Paint Job)
Prepping walls before painting is where the magic happens—skip the details, and even the best paint won’t save your walls. Whether you're refreshing a Lake County cottage or prepping a suburban home for resale, avoiding common pitfalls ensures a smooth, lasting finish. Here’s what pros always get right:
- Skipping Surface Cleaning Dust, grease, and grime block paint adhesion. Wipe down walls with a mild detergent solution, especially in kitchens or high-touch areas common in family homes around Northeast Ohio.
- Ignoring Holes and Cracks Small blemishes magnify after painting. Use a flexible patching compound for cracks and spackle for nail holes; let it dry, then sand smooth before priming.
- Forgetting to Sand Paint peels when applied over glossy or uneven surfaces. Lightly sand walls with 120-grit paper to “key” the surface—this boosts paint grip dramatically.
- Neglecting Priming Primer isn’t optional—especially over patches, stains, or when switching from dark to light colors. A quality primer evens out porosity and blocks discoloration.
- Rushing Masking Tape edges carefully using painter’s tape designed for clean lines. Press edges firmly with a putty knife to prevent bleed-through, especially on textured or older drywall.
- Overlooking Moisture Issues Peeling paint in basements or bathrooms often signals trapped moisture. Address leaks or humidity first—installing a dehumidifier or improving ventilation can prevent future failures.
- Using the Wrong Tools Cheap rollers leave lint and uneven coverage. Opt for high-quality microfiber rollers and angled sash brushes for crisp trim lines—your finish will look professionally done.
Take your time: proper prep work saves rework and delivers that flawless, showroom-ready wall you’re after.
Quick Answers to Your Top Wall Prep Questions
Preparing walls before painting is a critical step many homeowners overlook—yet it’s the foundation of a long-lasting, professional-looking finish. Here are answers to common questions that come up during the prep phase.
How long should walls dry before painting?
After cleaning or repairing walls, allow at least 24 hours for them to dry completely, especially in humid climates like Lake County. Moisture trapped under paint can cause bubbling, peeling, or mold growth over time.
What tools do I really need for wall prep?
Essential tools include a putty knife, sandpaper (120–220 grit), a sponge or TSP substitute, a pole sander, painter’s tape, drop cloths, and a vacuum. For textured or large surfaces, consider a sanding pole and an orbital sander for efficiency.
Can I paint over dirty walls?
No. Dust, grease, and grime prevent paint from adhering properly. Always clean walls with a mild detergent solution and rinse with water—especially in kitchens or high-traffic areas where buildup is common.
Do I need to sand every wall before painting?
Sanding smooths imperfections and creates a “tooth” for paint adhesion. Focus on repaired areas, glossy spots, or previously painted walls. For flat, clean drywall, light sanding may suffice.
How do I prep different wall materials?
Drywall, plaster, and wood each require tailored approaches. Drywall may need spackle for seams; plaster demands crack repair; wood requires wood filler and priming to prevent tannin bleed. Always spot-prime repaired areas.
Is primer really necessary?
Yes—especially on patched areas, stained spots, or when switching from dark to light paint. Primer seals repairs, blocks stains, and ensures even color distribution.
Do I need to caulk trim and corners?
Absolutely. Use paintable latex caulk on gaps between trim, walls, and ceilings. Sand once dry for seamless edges.
Finish Strong: Why Wall Prep Makes All the Difference
Painting is only as good as the prep work behind it—especially in climates like Lake County, where humidity and temperature shifts can compromise adhesion and finish quality. Skipping key steps such as cleaning, sanding, and caulking may save time upfront, but often leads to peeling, uneven coverage, or a patchy appearance that undermines your efforts. The secret to a professional-looking paint job isn’t just in the paint; it’s in the surface readiness.
To ensure lasting results, always follow these core prep steps:
- Clean walls thoroughly to remove grime, grease, and dust that block paint adhesion
- Repair cracks and holes with spackle or joint compound, then sand smooth
- Sand glossy surfaces lightly to create “tooth” for better paint grip
- Caulk gaps around trim, baseboards, and corners for clean, seamless edges
- Prime bare patches or stained areas to prevent bleed-through and ensure uniform color
Proper preparation not only enhances durability but also reduces paint consumption and future touch-ups. Whether you’re refreshing a single room or prepping your entire home for a sale, well-prepped walls increase perceived value and extend the life of your paint job.
Take your time—rushing leads to costly oversights. When in doubt, inspect under natural light and run your hand across the surface to catch imperfections. For best results, paint under moderate conditions: avoid extreme temperatures or high humidity common in Ohio’s spring and fall months.
Now that you know the essentials, grab your sandpaper and scraper—your smooth, flawless finish starts with prep.