How to Degrease and Prep Cabinets
6/7/2026
Why Proper Cabinet Prep Is the Secret to a Flawless Paint Job
Skipping the prep work when painting cabinets might seem like a time-saver, but it’s a shortcut that leads to peeling, bubbling, and uneven finishes—especially in high-moisture areas like kitchens in Northeast Ohio homes. Properly degreasing and preparing cabinets isn’t just a recommended step; it’s the foundation of a durable, professional-quality result. Over time, kitchen cabinetry accumulates grease, grime, and cooking residue that paint simply cannot adhere to, no matter how premium the product. Without thorough cleaning, even the most expensive paint will fail prematurely, leading to costly touch-ups or full re-dos.
In this section, you’ll learn why degreasing is non-negotiable, how contaminants compromise paint adhesion, and the long-term consequences of inadequate surface prep. You’ll also discover the signs of poorly prepped cabinets and why humidity and temperature fluctuations in regions like Lake County make proper preparation even more critical. By understanding the science behind paint bonding and surface readiness, homeowners and DIYers can avoid common pitfalls and achieve a smooth, lasting finish that enhances both aesthetics and home value. Ready to get it right the first time? Let’s start with the essentials of effective cabinet degreasing.
Deep Clean Your Cabinets: A Step-by-Step Degreasing Guide
Greasy, grimy cabinets are a common challenge in kitchens across Lake County and throughout Northeast Ohio, especially in homes near lakes or high-humidity areas where moisture traps dirt and oils. Over time, cooking residues, airborne pollutants, and daily wear create a stubborn film that dulls finishes and attracts more grime. Proper degreasing not only restores appearance but also prepares surfaces for refinishing, painting, or sealing. Follow these professional steps to effectively remove buildup without damaging wood, laminate, or painted cabinetry.
- Clear and Protect Surrounding Areas Remove items from cabinets and cover countertops, appliances, and floors with drop cloths. This prevents slips, chemical contact, and cross-contamination during cleaning.
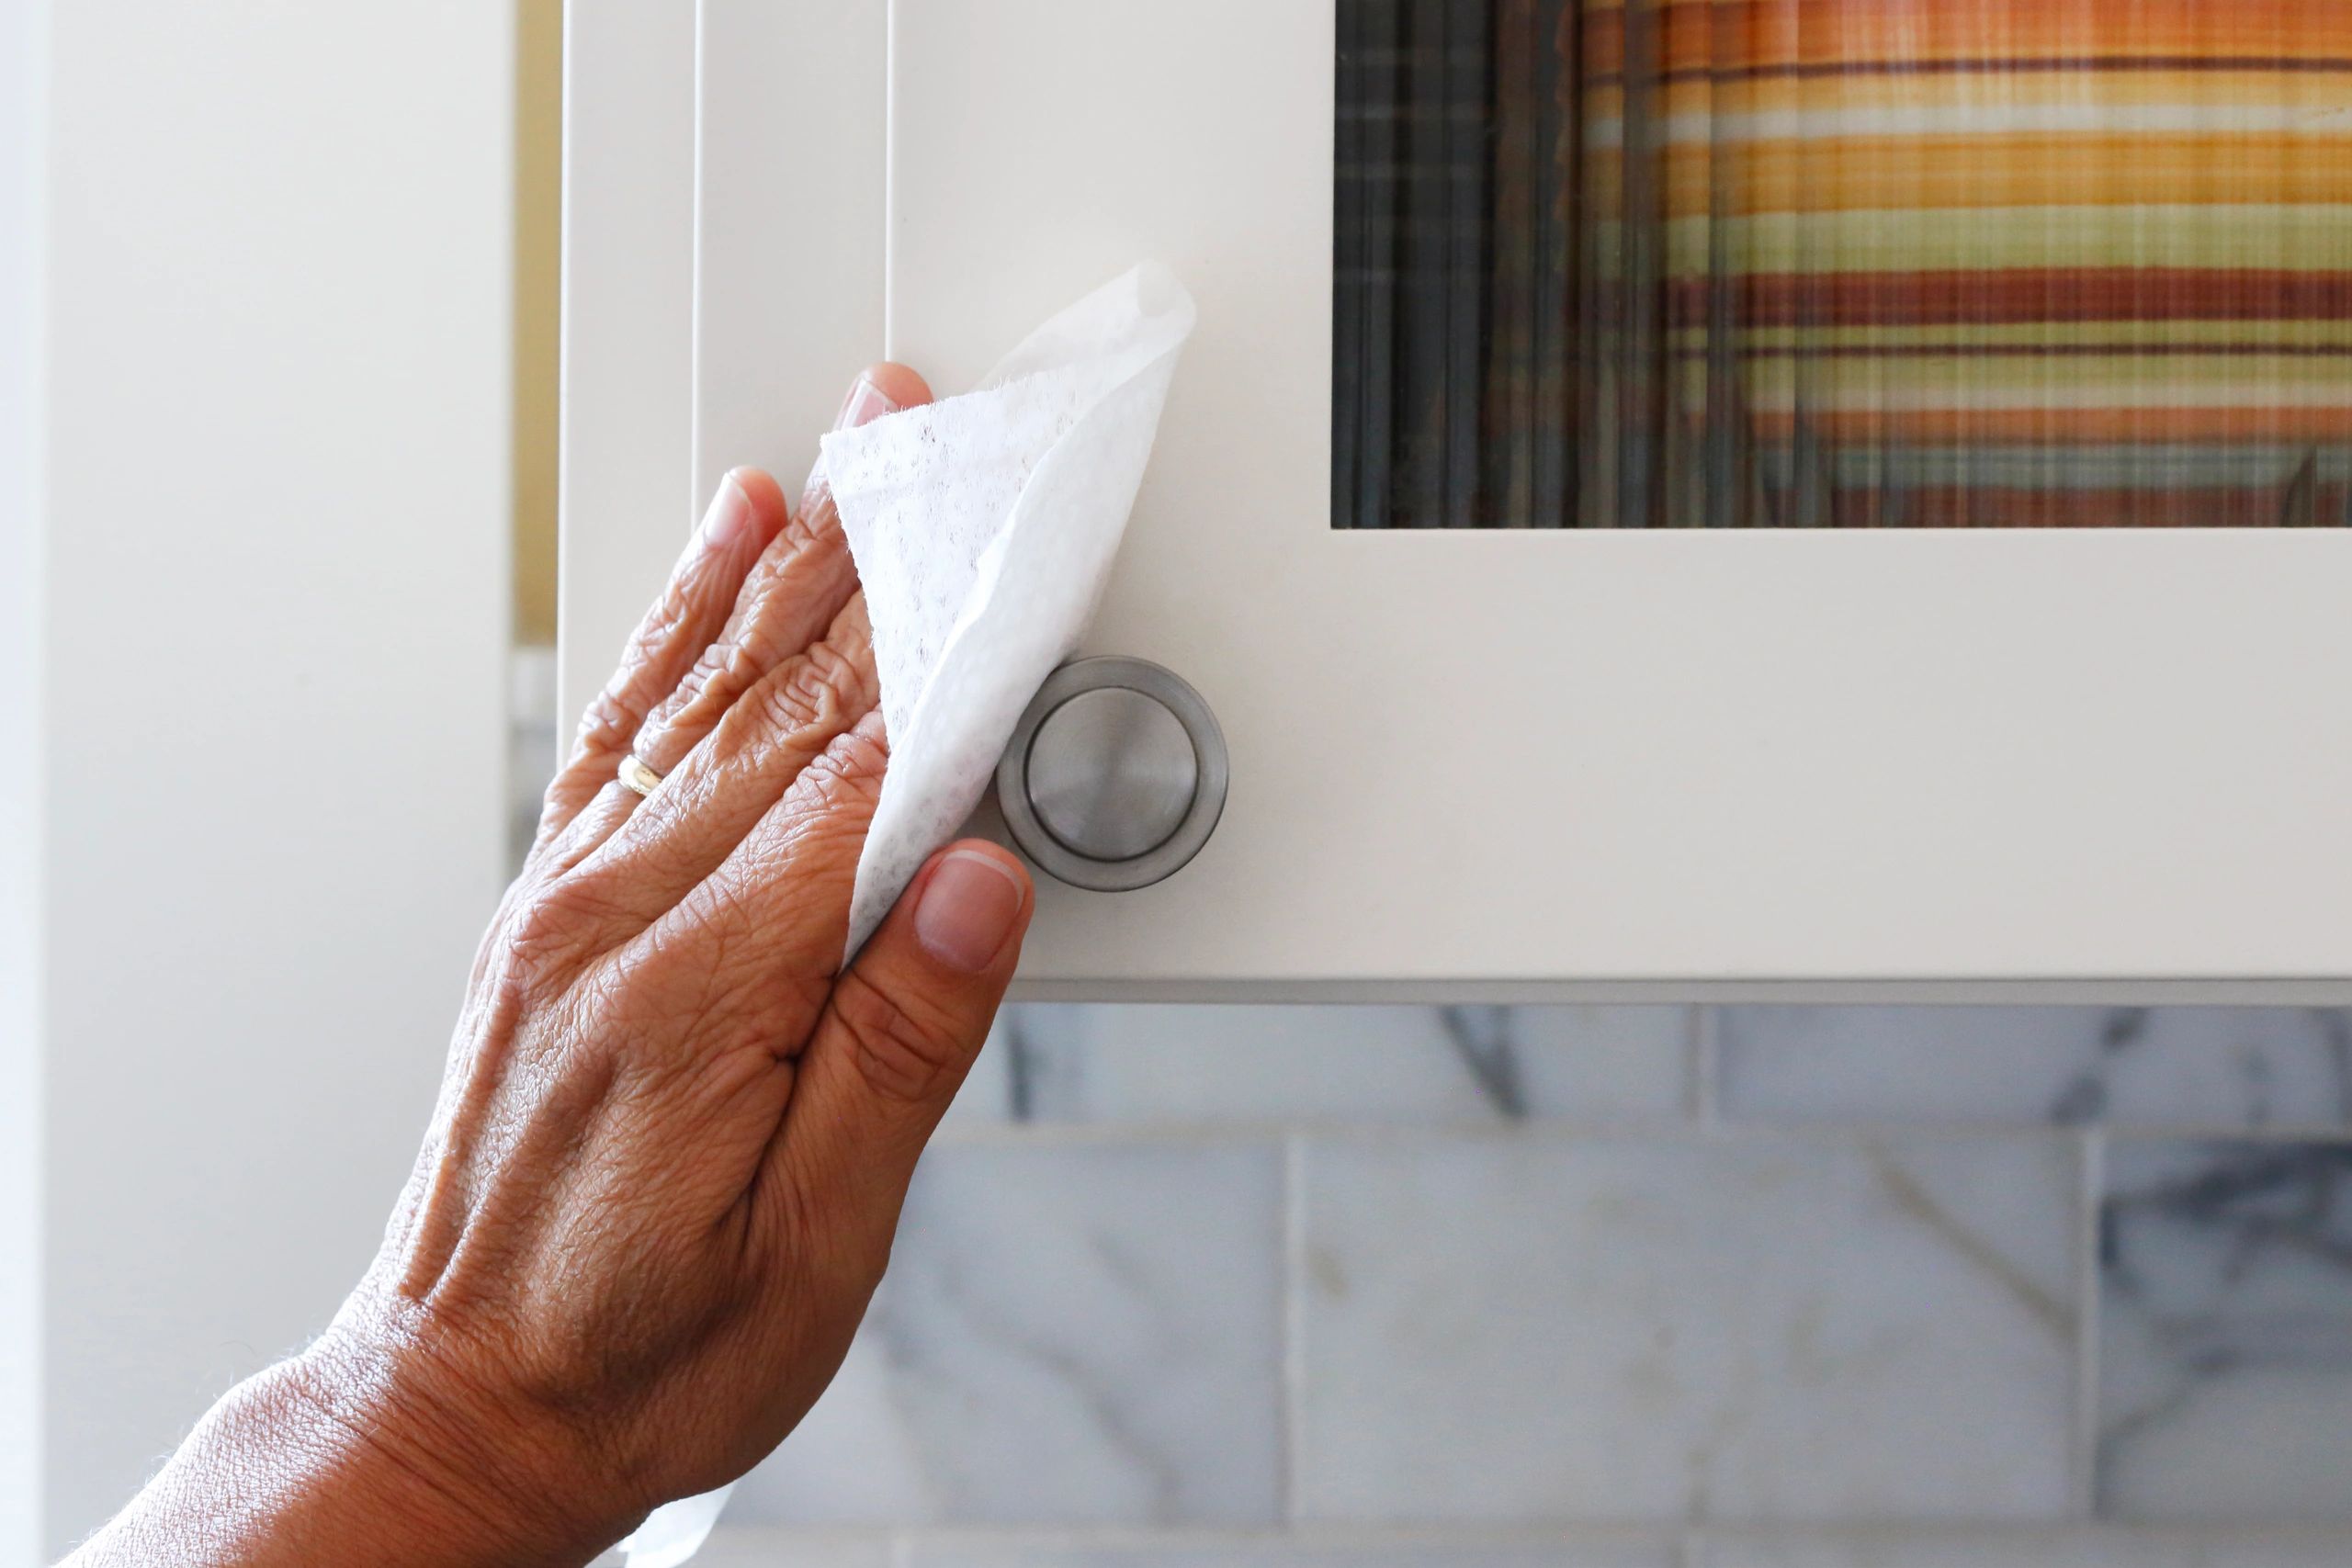
- Prep with a Mild Cleaner Begin by wiping surfaces with a mixture of warm water and mild dish soap to remove loose debris. Use a microfiber cloth or non-scratch sponge to avoid marring finishes.
- Apply a Dedicated Degreaser Use an industrial-strength, pH-neutral degreaser formulated for cabinetry. Spray evenly on doors, frames, and hinges—focusing on high-grease zones near stoves and ovens. Let sit for 3–5 minutes to break down oils, but avoid over-saturation.
- Scrub Gently with Detail Brushes Use soft-bristle brushes to agitate corners, grooves, and hardware. This lifts trapped grime without scratching delicate surfaces.
- Rinse and Wipe Dry Dampen a clean cloth with water to neutralize and remove residue, then immediately dry with a lint-free towel to prevent warping or swelling.
- Inspect and Repeat if Necessary Check for remaining film or stickiness. Reapply degreaser only to problem areas, then re-rinse.
For lasting results, repeat this process seasonally and maintain with weekly wipe-downs using appropriate wood or laminate cleaners.
Mastering Cabinet Sanding for Flawless Paint Adhesion
Properly sanding cabinet surfaces is a critical step in achieving a smooth, durable paint finish that lasts. Without the right preparation, even high-quality paint can peel, bubble, or fail to adhere—especially in high-moisture areas like kitchens in Lake County homes. Sanding creates the ideal tooth or texture that allows primer and paint to bond securely. Follow this step-by-step guide to ensure professional-grade results on your cabinet refacing project.
- Choose the Right Grit Start with 120-grit sandpaper to remove old finishes, minor imperfections, and surface shine. Follow with 180- to 220-grit paper for a smooth finish that won’t show scratches under paint. Always sand in the direction of the wood grain to avoid visible gouges.
- Clean and Degrease First Grease and grime block sandpaper effectiveness. Wipe all surfaces with a degreasing solution and let dry completely before sanding. This ensures even abrasion and prevents clogging the paper prematurely.
- Sand Door and Drawer Fronts Systematically Work panel by panel. Use a foam sanding block for flat surfaces and detail sanders or hand sanding for raised panels and edges. Pay extra attention to corners and crevices where grease accumulates.
- Check for Smoothness and Uniformity After sanding, run your hand over each surface. It should feel uniformly smooth—not slick or rough in spots. Wipe down all components with a tack cloth to remove dust before priming.
- Inspect and Spot-Sand as Needed Hold a bright light at an angle to reveal missed spots or uneven areas. Lightly spot-sand these zones and rewipe before moving forward.
Proper sanding sets the foundation for a long-lasting, professional cabinet transformation—no shortcuts allowed.
Removing and Prepping Cabinet Hardware Like a Pro
Before refinishing or repainting cabinets, properly removing and preparing hardware is essential for achieving a clean, professional result. Mishandling this step can lead to damaged finishes, stripped screws, or lost parts—especially common in older homes across Lake County and Northeast Ohio where cabinetry may have aged fasteners or unique fittings.
Follow these steps for a seamless process:
- Remove Hardware Systematically Use the correct screwdriver or hex key to gently unscrew knobs, pulls, and hinges. Place all pieces in labeled baggies (e.g., “Kitchen Upper Right”) to ensure easy reinstallation. For stuck screws, apply a drop of penetrating oil and wait 5–10 minutes before trying again.
- Clean Hinges, Knobs, and Mounting Plates Soak metal hardware in warm, soapy water with a splash of vinegar to loosen grime and light rust. For detailed crevices, use an old toothbrush to scrub gently. Avoid abrasive pads that scratch nickel or brass finishes.
- Address Corrosion and Tarnish Test a small area with a paste made from baking soda and water. Buff with a soft cloth in circular motions. Rinse and dry thoroughly to prevent water spots or residual moisture damage.
- Inspect and Replace if Necessary Look for worn threads, loose pivot points, or warped mounting plates. Replace damaged hardware now to ensure smooth operation post-installation.
- Store Safely Until Reinstallation Keep cleaned items in a dry, labeled container. Reattach only after painting or refinishing is fully cured to avoid smudges or finish transfer.
Taking time to prep hardware properly safeguards both function and aesthetics—key for long-lasting cabinet upgrades.
Shield Your Space: Smart Ways to Protect Surroundings During Cabinet Prep
When prepping cabinets for degreasing and refinishing, safeguarding nearby surfaces is just as crucial as the cleaning itself. Dust, chemical residues, and overspray can easily settle on floors, countertops, and fixtures—especially in kitchens throughout Northeast Ohio homes where workspaces are tight and materials vary. A careful protection strategy ensures a clean, damage-free job from start to finish.
- Clear and Clean the Area First Remove all items from countertops, shelves, and nearby furniture. Sweep or vacuum the floor to eliminate debris that could interfere with drop cloths or tape adhesion.
- Use Plastic Sheeting with Static Cling Cover countertops, appliances, and nearby cabinetry with heavy-duty plastic sheeting. Static-cling variants stick without tape, reducing the risk of surface damage—ideal for delicate finishes on quartz or stainless steel.
- Secure with Painter’s Tape, Not Duct Tape Apply high-quality painter’s tape along edges where plastic meets walls or cabinets. This prevents dust migration while peeling cleanly—essential for older trim or painted surfaces in homes across Lake County.
- Lay Down Fiber Drop Cloths for Floors Avoid plastic tarps on floors, which can slip. Use cotton or synthetic fiber drop cloths for traction, and tape edges down with painter’s tape to block fine dust from sanding or sanding prep.
- Seal Off Doorways and Vents Use plastic sheeting and tape to close off kitchen entrances and HVAC vents. This keeps particulates from spreading into adjacent rooms—a smart move for older homes with open floor plans.
Pro tip: Work methodically, sealing areas before starting any degreasing. This minimizes cleanup and protects your home’s interior integrity throughout the project.
Cabinet Prep & Degreasing FAQs: Your Top Questions Answered
What’s the best way to degrease cabinets before painting?
Start by removing all hardware and wiping surfaces with a solution of trisodium phosphate (TSP) or a TSP substitute mixed with warm water. This cuts through built-up grime, cooking oils, and dust. Use a microfiber cloth or sponge to scrub in the direction of the wood grain, then rinse with clean water and let dry completely. For eco-friendly alternatives, vinegar and baking soda solutions work but may require extra elbow grease on heavily soiled areas, especially in Lake County kitchens where frequent cooking accelerates grease buildup.
Do I need to sand cabinets after degreasing?
Yes—light sanding with 180–220 grit sandpaper is essential to create a “tooth” for the primer to adhere to. Focus on smooth surfaces like maple or laminate, which don’t absorb finishes well. Always sand before priming, not after, and wipe down with a tack cloth to remove dust.
Can I skip degreasing if my cabinets aren’t visibly dirty?
No. Even cabinets that look clean can have invisible residue from airborne kitchen oils that repel paint. Proper degreasing ensures long-lasting results.
How long should I wait between degreasing and priming?
Let cabinets dry for at least 4–6 hours in a well-ventilated area. Humidity in Northeast Ohio can slow drying, so extend this if surfaces feel damp.
Is liquid or powdered degreaser better?
Powdered TSP offers stronger cleaning power and consistency, while pre-mixed liquids are more convenient. Avoid dish soaps, which leave a film that peels under paint.
Can I use a degreaser on painted or stained wood?
Yes, but test in an inconspicuous area first. Some strong degreasers can lift old finishes, especially on previously painted cabinets.
How often should I clean cabinets before repainting?
Always clean immediately before beginning prep work. Even a few days can allow recontamination from household dust or aerosols.
Finish Strong: Why Proper Cabinet Prep is Your Secret to a Lasting Paint Job
You’ve sanded, cleaned, and degreased—now it’s time to seal your success. Proper surface preparation isn’t just a preliminary step; it’s the foundation of a professional-grade paint finish that stands up to daily wear, especially in high-traffic areas like kitchens in homes across Lake County and throughout Northeast Ohio. Skipping degreasing or sanding can lead to peeling, bubbling, or an uneven appearance, undoing all your hard work. Remember, glossy cabinet surfaces trap cooking oils and grime, creating a barrier that paint simply cannot adhere to. Using a TSP substitute or vinegar-based degreaser ensures every surface is free of residue, while light sanding with 120–150 grit paper creates the ideal “tooth” for primer and paint to bond.
After cleaning, always wipe down with a tack cloth to remove dust before priming. This extra step prevents particles from becoming trapped under your finish. For homeowners managing DIY renovations, consistency and attention to detail make all the difference. When cabinets are properly prepped, the final coat looks seamless, durable, and custom-finished—no telltale brush marks or patchiness.
Now that you know the essentials, inspect your cabinets under natural light and ensure every inch is smooth, dry, and clean. If you're unsure about any step or working with older finishes that may contain lead, consider consulting a local handyman service familiar with Ohio home standards. Invest the time up front—your flawless finish depends on it.