Drywall Repairs: Small Fixes vs. Full Replacement
5/27/2026
The Hidden Truth Behind Wall Damage: Why Repair Choice Matters
From minor dings to extensive water stains, drywall damage is a common reality in homes across Lake County and throughout Northeast Ohio. While drywall is praised for its durability and ease of installation, even small imperfections can compromise a wall’s structural integrity if left unaddressed. More than just cosmetic flaws, unchecked damage can lead to moisture intrusion, mold growth, and reduced insulation performance—especially in older homes where temperature fluctuations and seasonal humidity take a toll.
Choosing between a patch fix and full replacement isn’t just a cost decision—it’s a long-term investment in your home’s safety and efficiency. A small puncture might only need joint compound and tape, but widespread cracking or recurring bubbles may signal deeper issues like foundation shifting or persistent water leaks. Homeowners in areas like Painesville, Willoughby, and Madison often face these challenges due to the region’s freeze-thaw cycles, which stress wall systems over time.
This guide will help you identify key damage indicators, understand when DIY fixes are enough, and recognize when professional assessment is necessary. You’ll learn how repair methods affect energy efficiency, noise control, and resale value—ensuring your solution supports both immediate needs and lasting home performance.
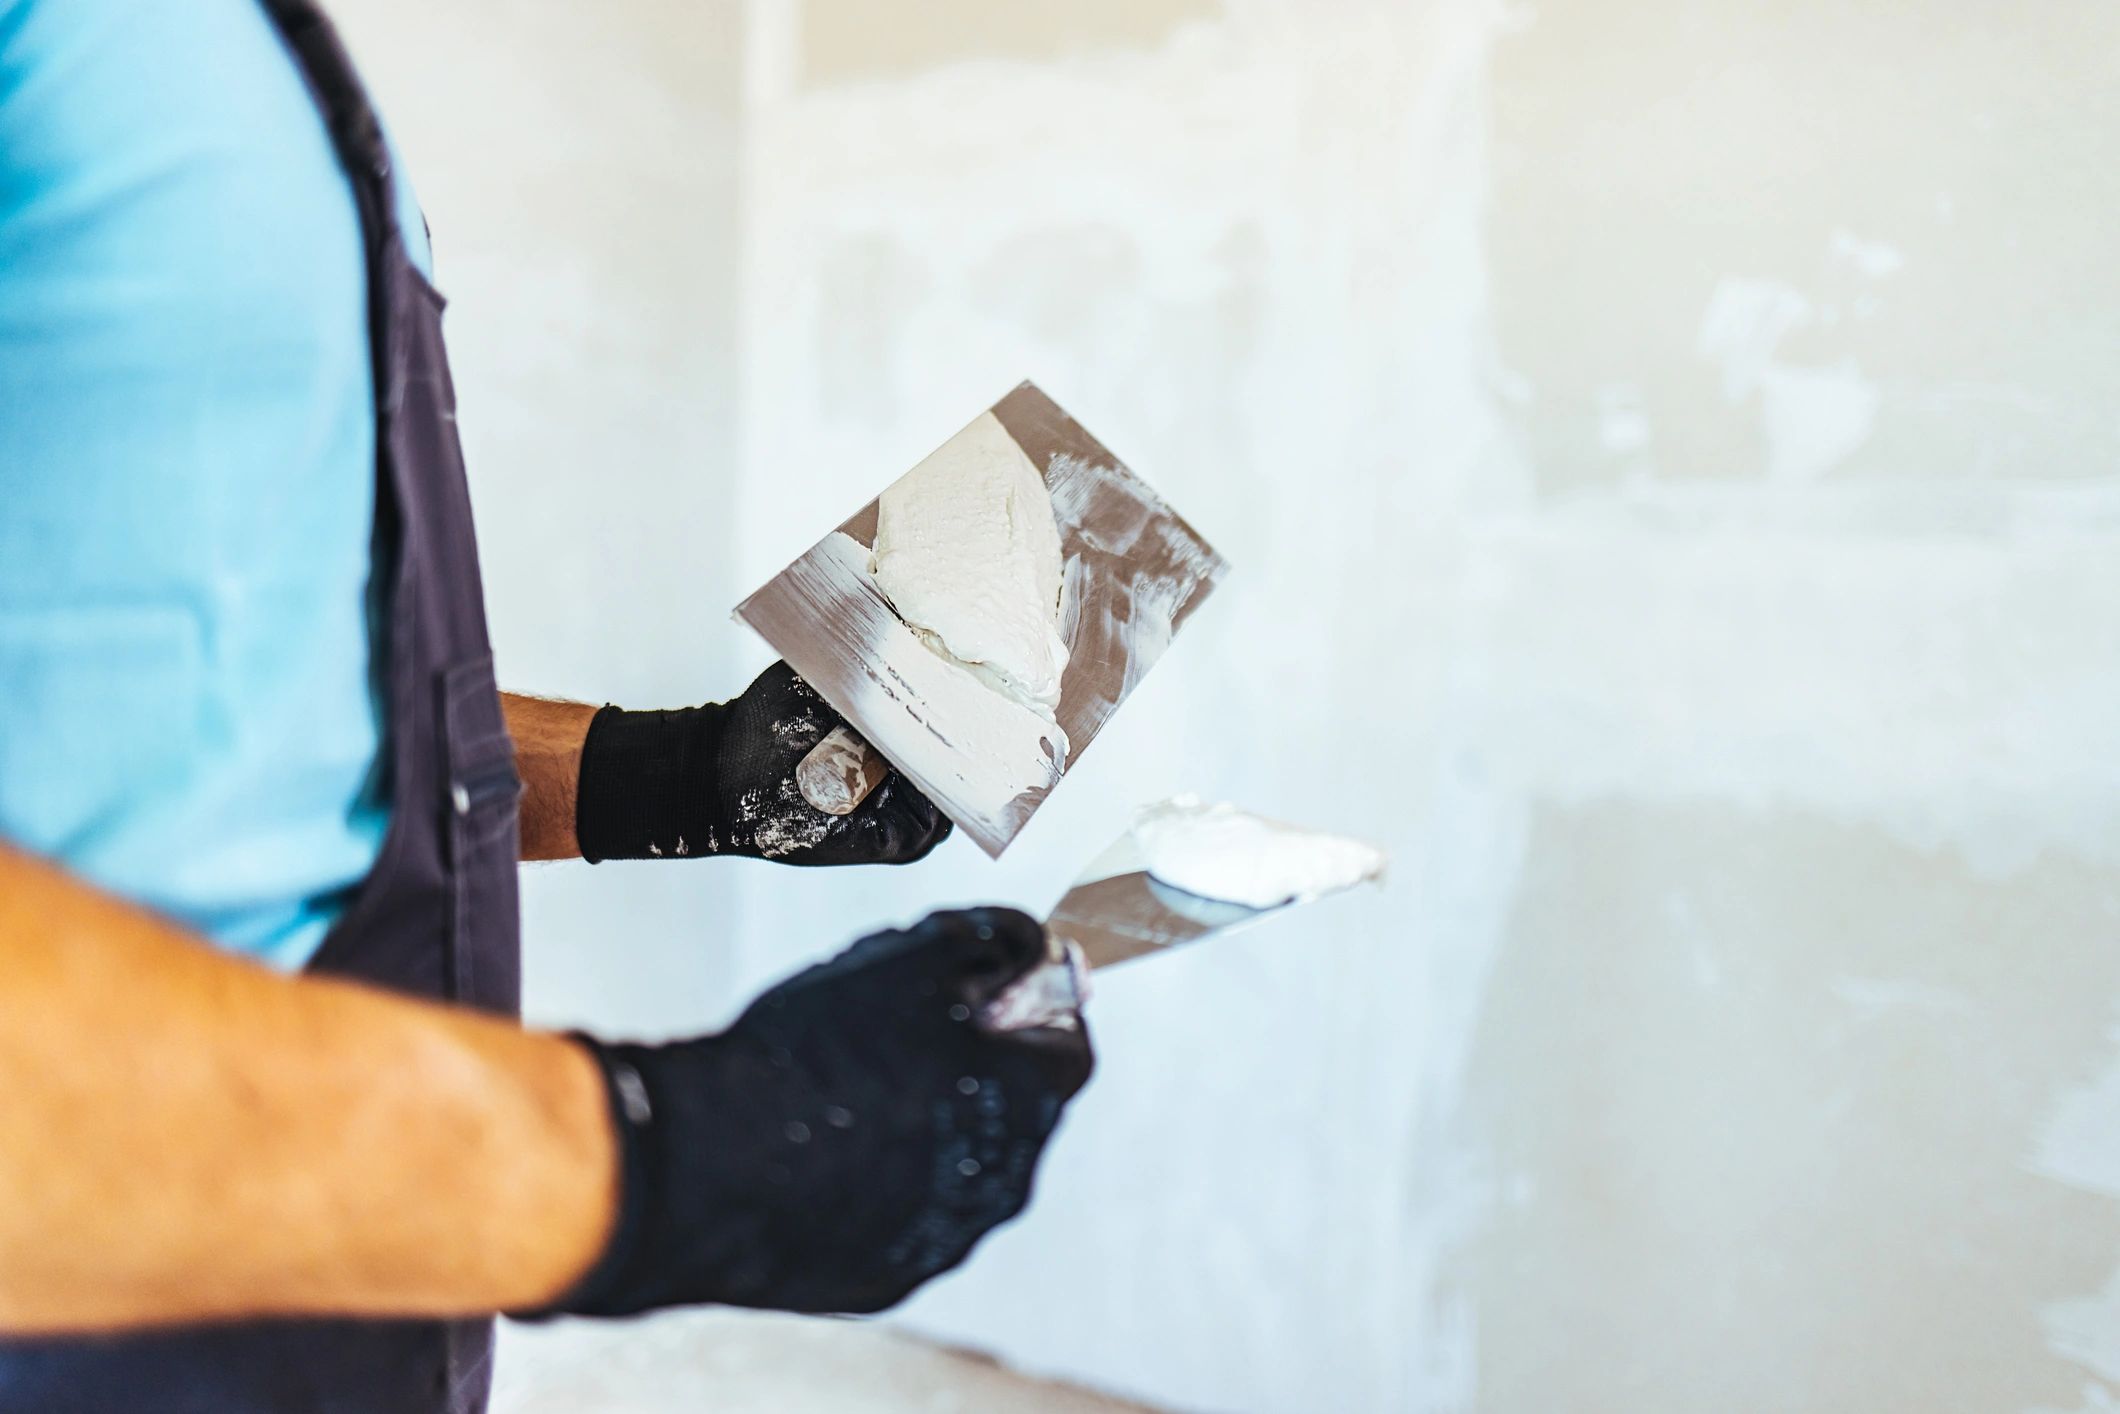
Fixing Small Holes in Drywall: A Simple DIY Guide for Homeowners
Even minor damage like nail holes or small dents can detract from your walls’ appearance—especially in high-traffic areas like hallways or living rooms across homes in Lake County and beyond. Fortunately, repairing small drywall holes (up to 6 inches) using a patch kit is a straightforward process that delivers professional-looking results with minimal effort.
- Prepare the Area Clean the damaged spot and remove any loose debris or flaking paint. Lightly sand around the hole to create a smooth surface for better adhesion.
- Apply the Patch Most kits include a self-adhesive mesh patch. Cut it slightly larger than the hole, peel the backing, and press it firmly over the damage. Ensure full contact with the wall to prevent bubbles.
- Mud and Tape Using a putty knife, spread joint compound evenly over the patch in thin layers. Feather the edges outward to blend with the surrounding wall. Let it dry completely between coats—typically 2–4 hours depending on humidity.
- Sand and Finish Lightly sand the area until smooth. Wipe away dust, then prime and paint to match your wall’s texture.
Pro Tip: For a seamless blend, replicate the wall’s finish using a sponge or texture spray before painting. This step is crucial in older homes where paint wear makes repairs more visible.
When to Replace Entire Drywall Panels: A Step-by-Step Guide
Replacing an entire drywall panel becomes necessary when damage extends beyond surface-level cracks or holes—such as extensive water damage, mold growth behind the wall, or large structural gaps. Knowing how to properly remove and install a new panel ensures a seamless finish and long-lasting repair.
- Turn Off Power and Prepare the Area Shut off electricity to the room and remove baseboards or trim. Cover nearby furniture and seal off the space with plastic sheeting to contain dust.
- Cut Out the Damaged Section Use a utility knife to score a rectangular section around the damaged area, extending to the nearest studs on both sides. Carefully break away the drywall and remove it from the frame.
- Inspect Behind the Wall Check for mold, wiring issues, or insulation damage. Address any underlying problems before proceeding—especially important in humid areas like basements common in Lake County homes.
- Measure and Cut Replacement Drywall Take precise measurements and cut a new panel to fit snugly between studs. Use moisture-resistant drywall in bathrooms or kitchens.
- Secure the New Panel Attach the drywall with drywall screws every 6–8 inches along studs. Ensure the surface is flush and screws are slightly dimpled but not overdriven.
- Tape, Mud, and Sand Apply joint tape over seams, then spread three thin coats of joint compound, sanding between each. Allow proper drying time between applications.
Pro tip: In older homes with plaster walls, ensure new drywall aligns properly with existing surfaces to avoid uneven transitions. Matching texture and paint completes the invisible repair.
Small Repairs vs. Full Panel Replacement: Weighing Time, Cost, and Effort
When faced with damaged drywall, homeowners in Lake County and across Northeast Ohio often wonder: Is patching enough, or is it time for a full panel replacement? The answer depends on three key factors—time, cost, and effort—and understanding the differences can save both money and frustration.
Time: Small fixes, like repairing nail holes or minor dents, typically take under an hour, including drying and touch-up painting. Larger cracks or water stains may require multiple compound applications, adding 1–2 days. Full panel replacement, however, involves demolition, precise measuring, hanging, taping, and finishing—potentially spanning 2–3 days for a single wall, especially in older homes with uneven studs.
Cost: Patch kits and joint compound for minor repairs cost under $30, making DIY fixes highly affordable. Professional small repairs average $75–$150 per patch in the Lake County area. Full panel replacement, meanwhile, runs $150–$400 per sheet installed, factoring in materials, labor, and disposal fees—particularly if electrical or insulation work is needed.
Effort: Minor repairs are low-disruption, ideal for renters or quick updates. Full replacements generate dust and noise, require furniture moving, and may impact room usability for days.
In short: small fixes win for minor damage and budgets; full replacement is best for widespread deterioration or planned renovations.
Drywall Repair FAQs: Your Top Questions Answered
How long does drywall mud need to dry before sanding or painting?
Most joint compounds require 24 hours to dry completely between coats. In humid environments or thicker applications, drying may take up to 48 hours. Always ensure the mud is fully dry to the touch and appears uniformly light in color before sanding. Rushing this process can lead to cracking or poor adhesion.
Can I paint over repaired drywall immediately after mudding?
No—after sanding, prime the patched area with a quality drywall primer before applying paint. Priming seals the joint compound and prevents it from absorbing moisture unevenly, which can cause the patch to telegraph through the paint.
Do I need special tools for small drywall fixes?
Basic repairs can be done with a putty knife, joint compound, mesh or paper tape, and sanding sponge. For larger holes, a drywall saw and patch kit may be necessary. Using the right tools ensures clean edges and smooth finishes.
What causes drywall cracks to reappear after repair?
Recurring cracks often indicate structural movement, temperature fluctuations, or improper repair technique. Always secure loose drywall and use flexible joint compound to accommodate minor shifts, especially in older homes across Northeast Ohio.
Should I use spackle or joint compound for small holes?
Spackle works well for pinholes and dents under ½ inch. Joint compound is better for seams, larger holes, and layered finishes due to its flexibility and shrinkage control.
How do I match the wall texture after repair?
Practice your technique on a scrap piece or inconspicuous area. Common textures like orange peel or knockdown can be replicated with a spray texture can or special rollers. Allow texture to dry before priming and painting.
Making the Right Choice: Small Drywall Repairs vs. Full Replacement
Deciding between patching a small drywall blemish and opting for a full replacement hinges on several factors: damage extent, cost efficiency, long-term durability, and your home’s future value. Minor dents, nail pops, or small holes from decor changes typically require only spot repairs—especially in well-maintained walls throughout homes in Lake County and surrounding Northeast Ohio neighborhoods. These quick fixes restore aesthetics and structural integrity without extensive labor or cost. However, when drywall shows widespread damage—persistent cracks, water stains, sagging panels, or signs of mold due to humidity—a full replacement becomes a smarter investment. Replacing sections or entire walls not only resolves underlying issues but also improves energy efficiency, sound control, and indoor air quality.
Homeowners should assess wall age, substrate stability, and room function. High-traffic areas benefit from full replacements to prevent recurring damage, while basements or garages with moisture exposure may need upgraded drywall types suited for damp conditions.
Take these steps:
- Inspect thoroughly – Look beyond surface damage
- Test for moisture – Address leaks before repair or replacement
- Evaluate your timeline and budget – Small fixes save time short-term, but replacements prevent repeat work
- Consider future renovations – Updating walls during kitchen or bathroom remodeling saves labor costs
When in doubt, consult a trusted local professional familiar with regional construction standards. Your walls are more than surfaces—they're essential to comfort, safety, and long-term home performance.